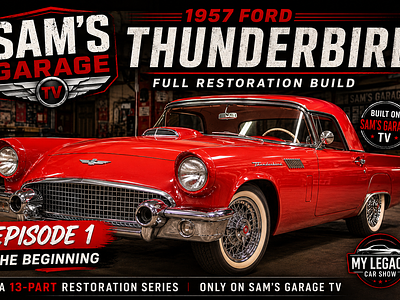
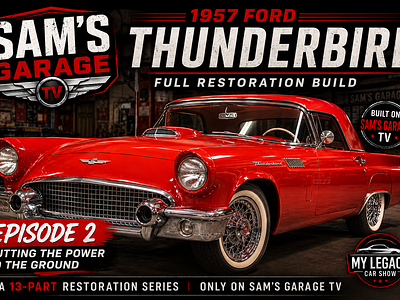
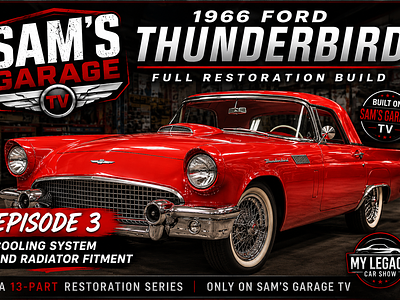
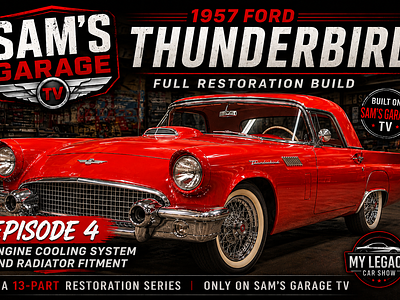
1957 Ford Thunderbird
Watch the story

The Story

Meet the Builder — Sam Mahdavi

Sam Mahdavi, host of the nationally syndicated Sam's Garage, has spent his career around cars, builders, and the people who make the automotive world special.
Sam brings more than mechanical knowledge to a build. He understands that the best vehicles usually have a story behind them.
As a builder and partner in My Legacy Car Show, Sam will help us uncover those stories, meet the people behind the vehicles, and bring some truly special Legacy Builds to life.
Because sometimes the most important part of a build isn't what's under the hood.
It's why the vehicle matters in the first place.


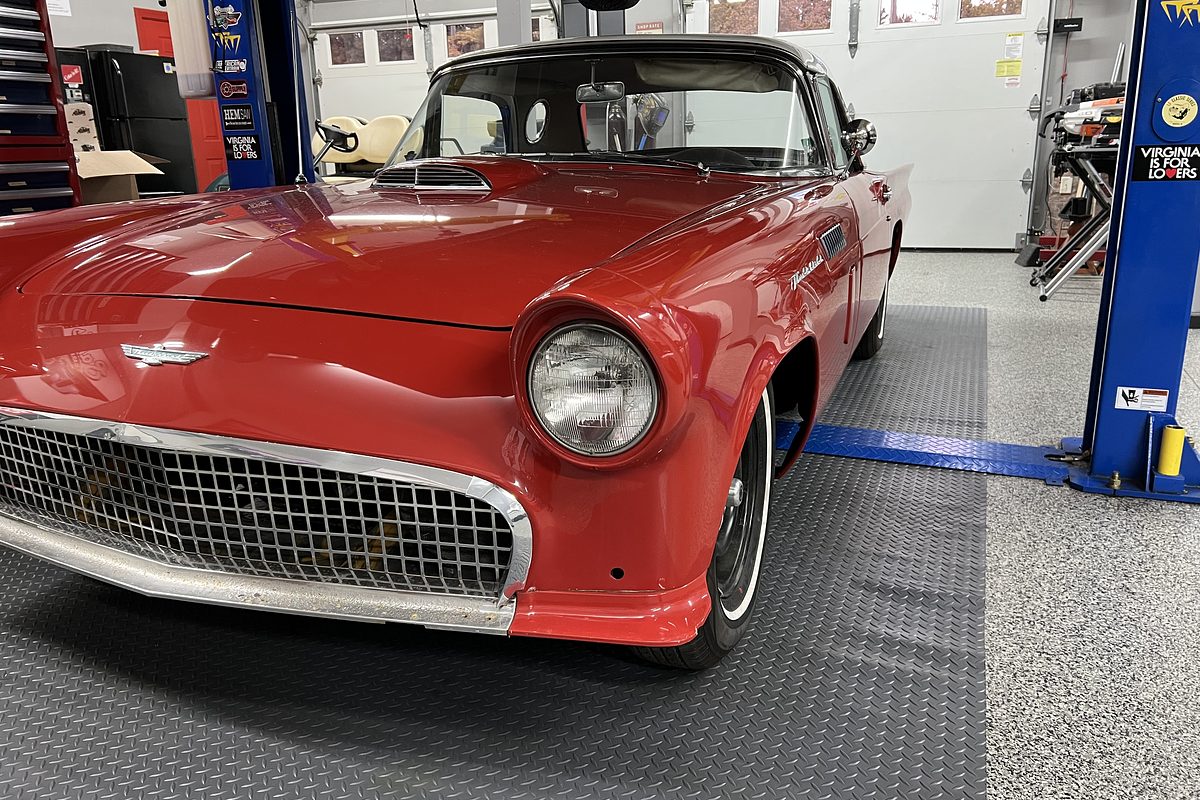
The Red Thunderbird

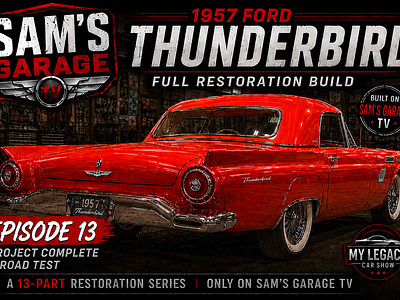
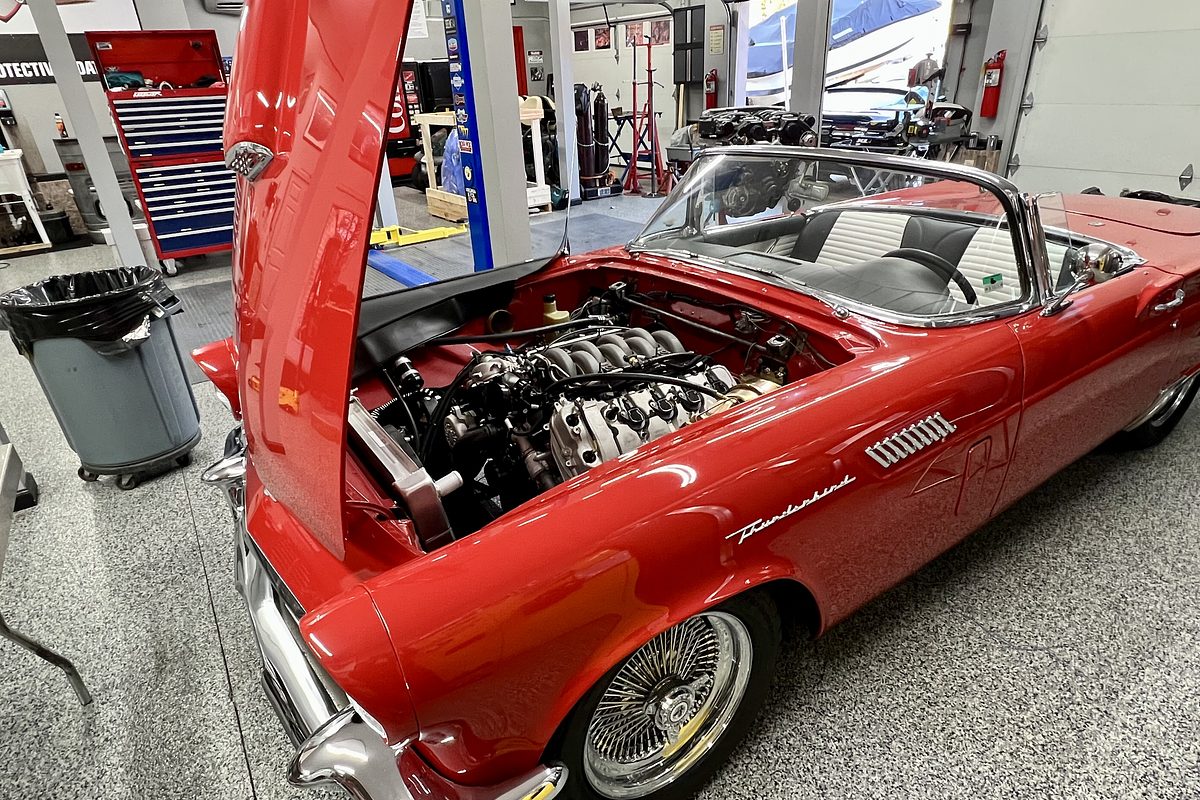
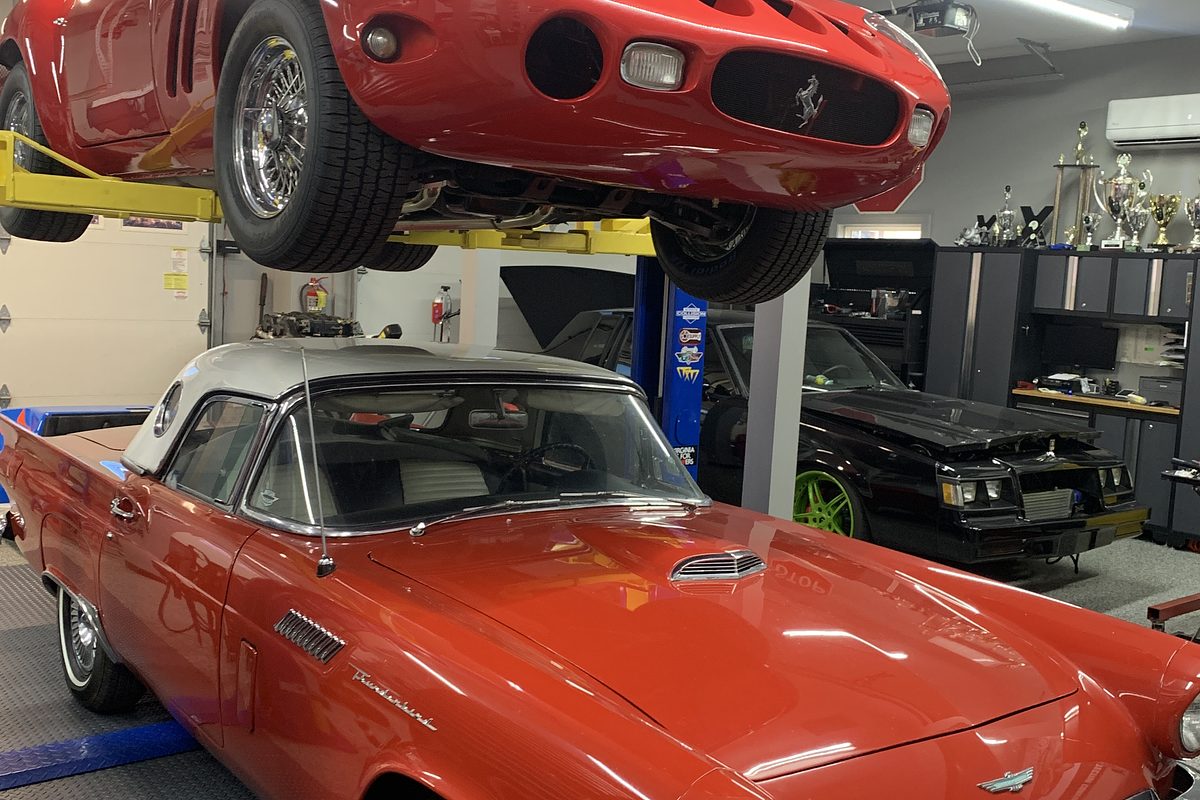
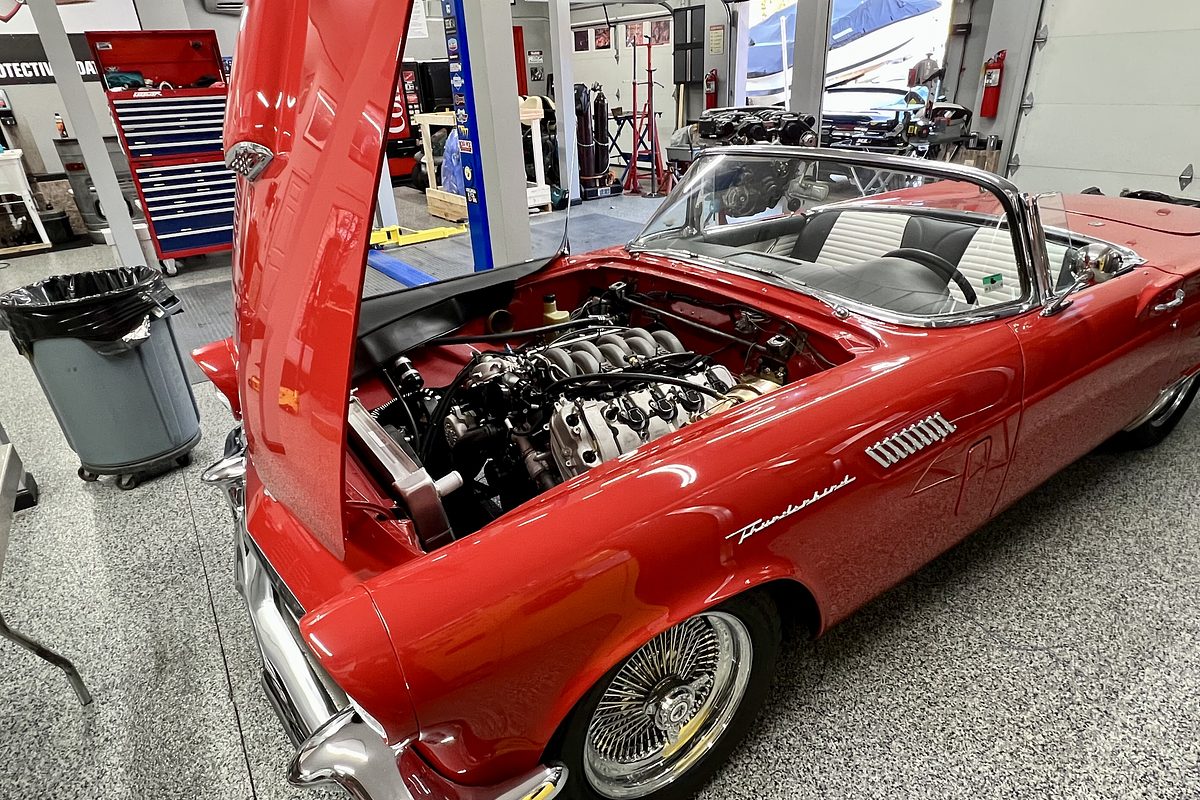
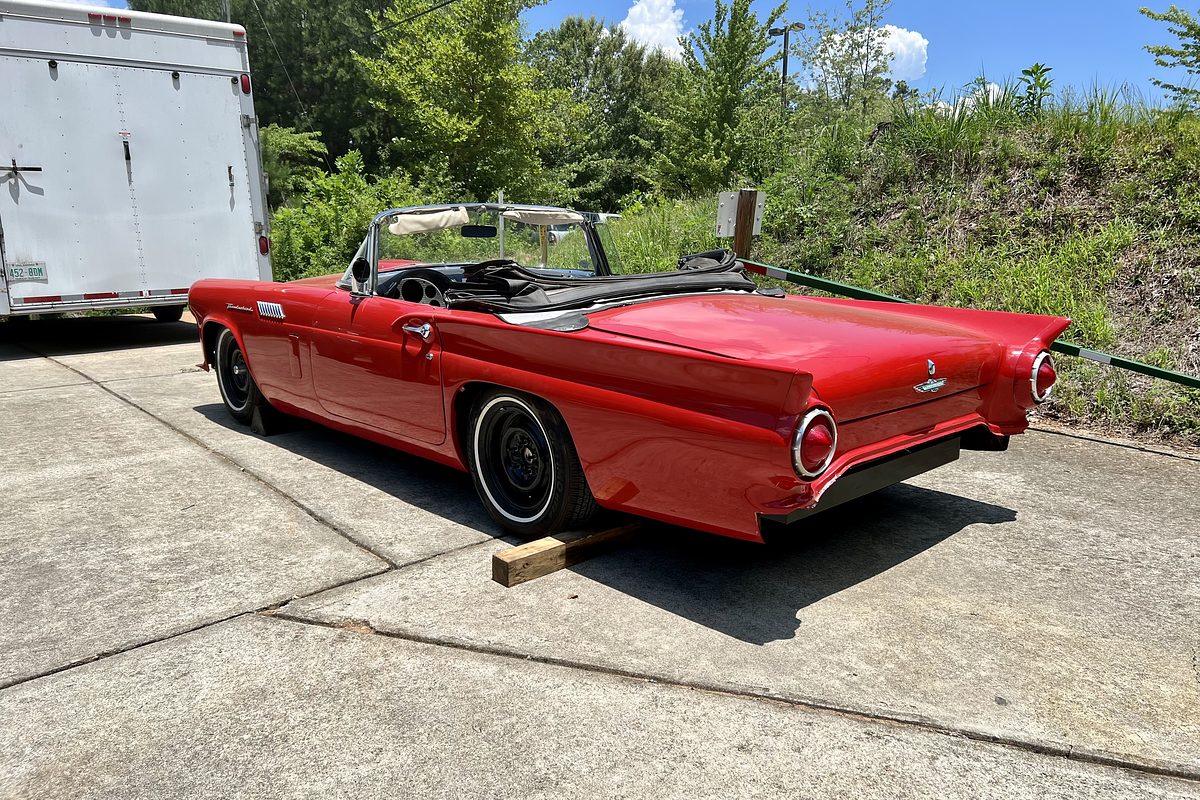
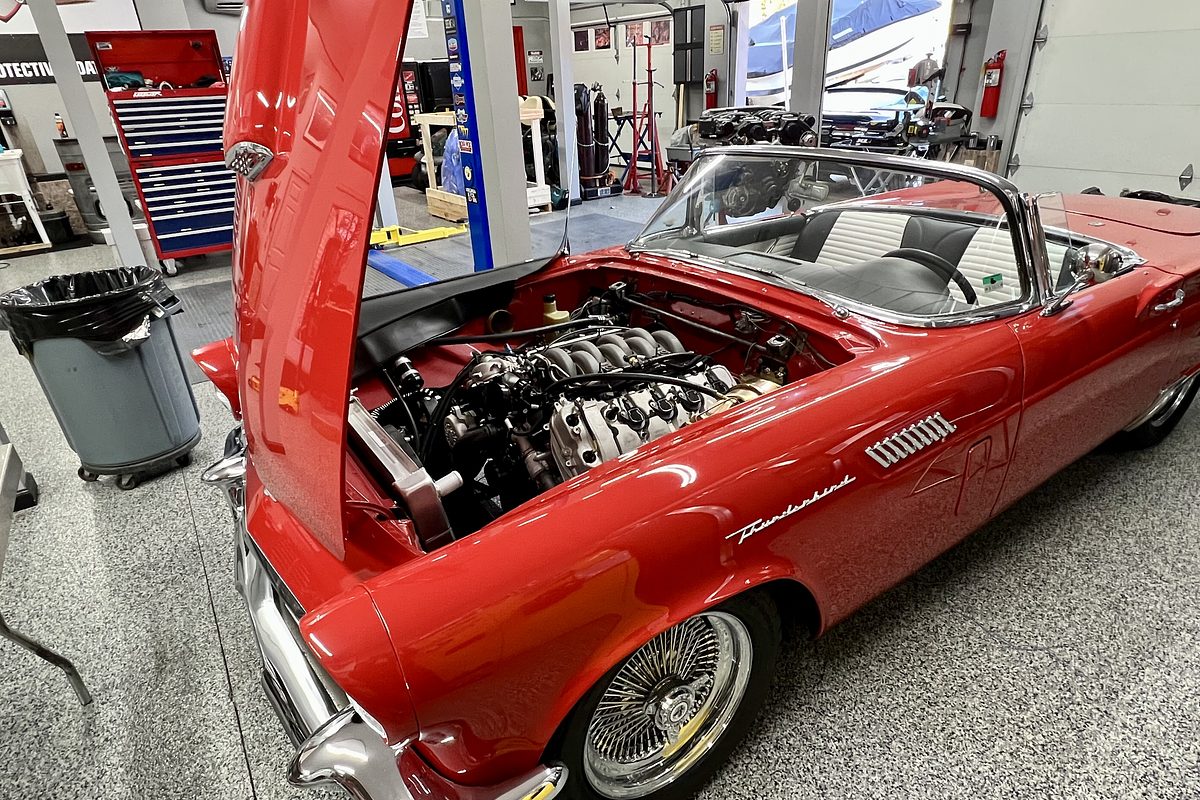
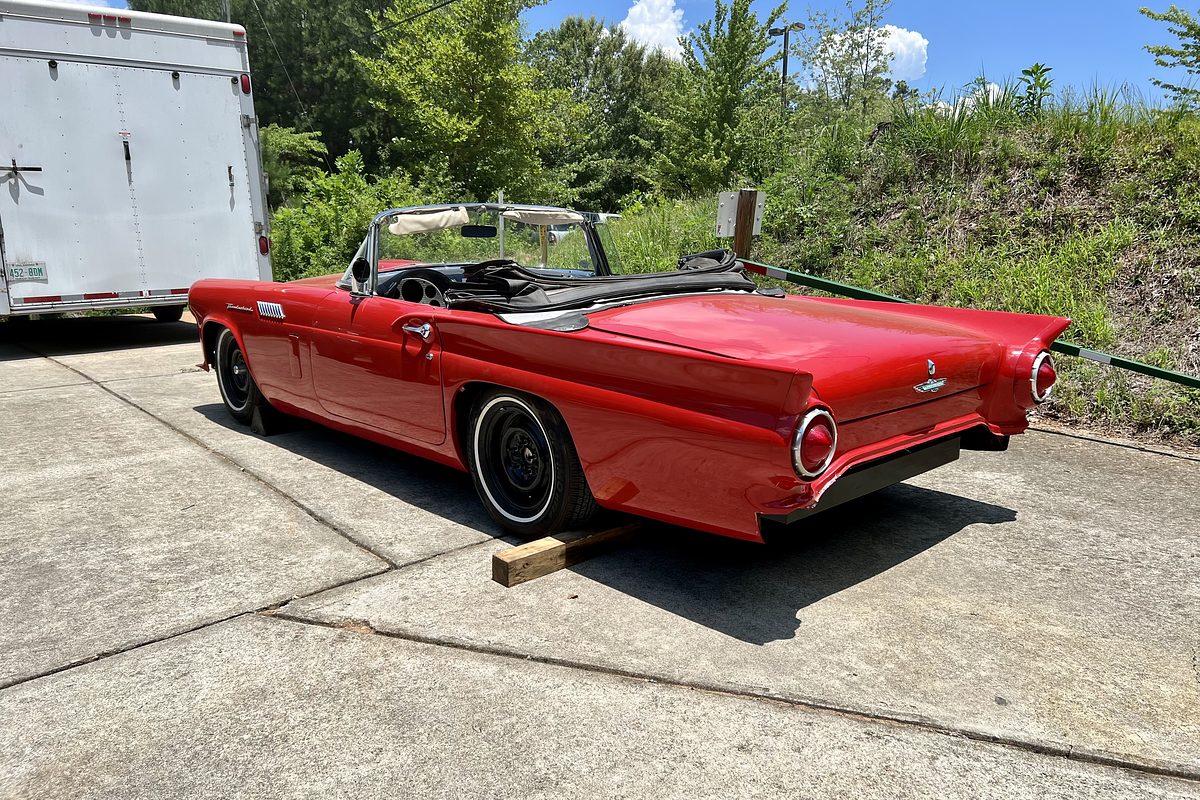
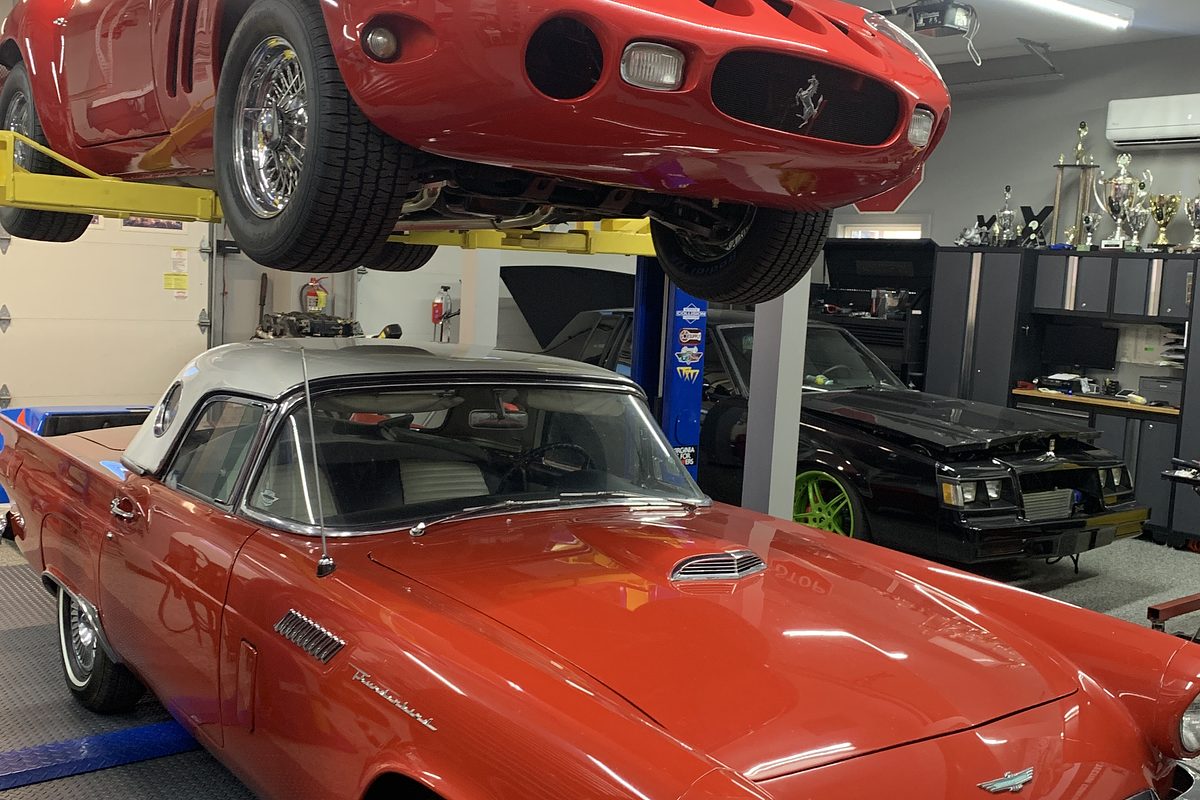
Doug and I built this red Thunderbird together on Sam's Garage TV, and it turned into something pretty special.
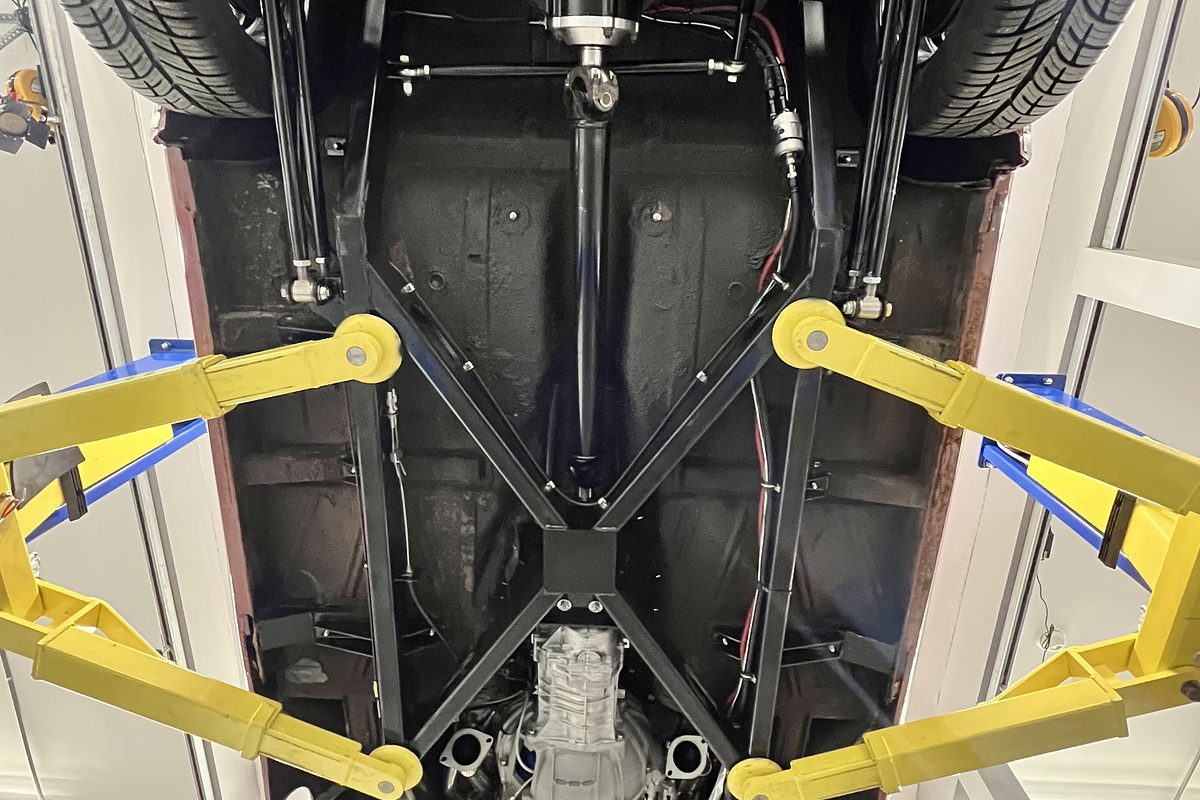
We started by building a brand-new chassis at Doug's company, HEM Saw, then brought the car back to Sam's Garage for the rest of the build.
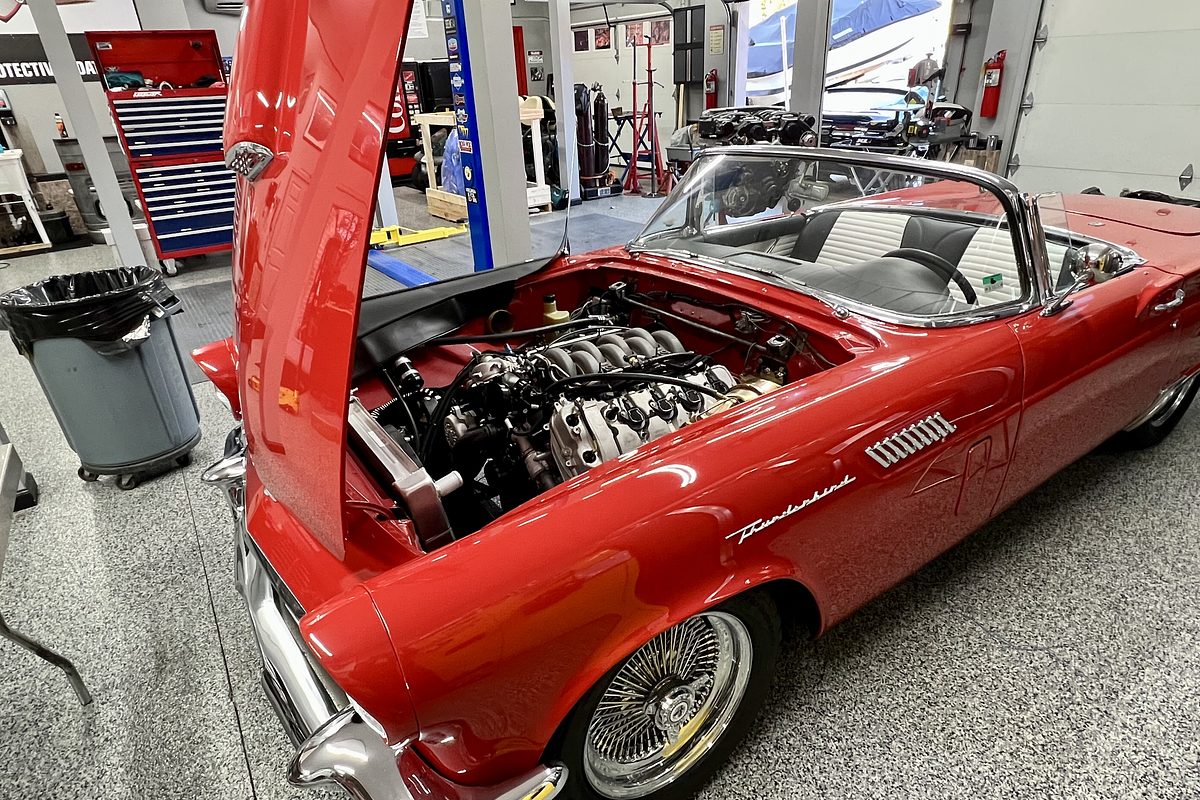
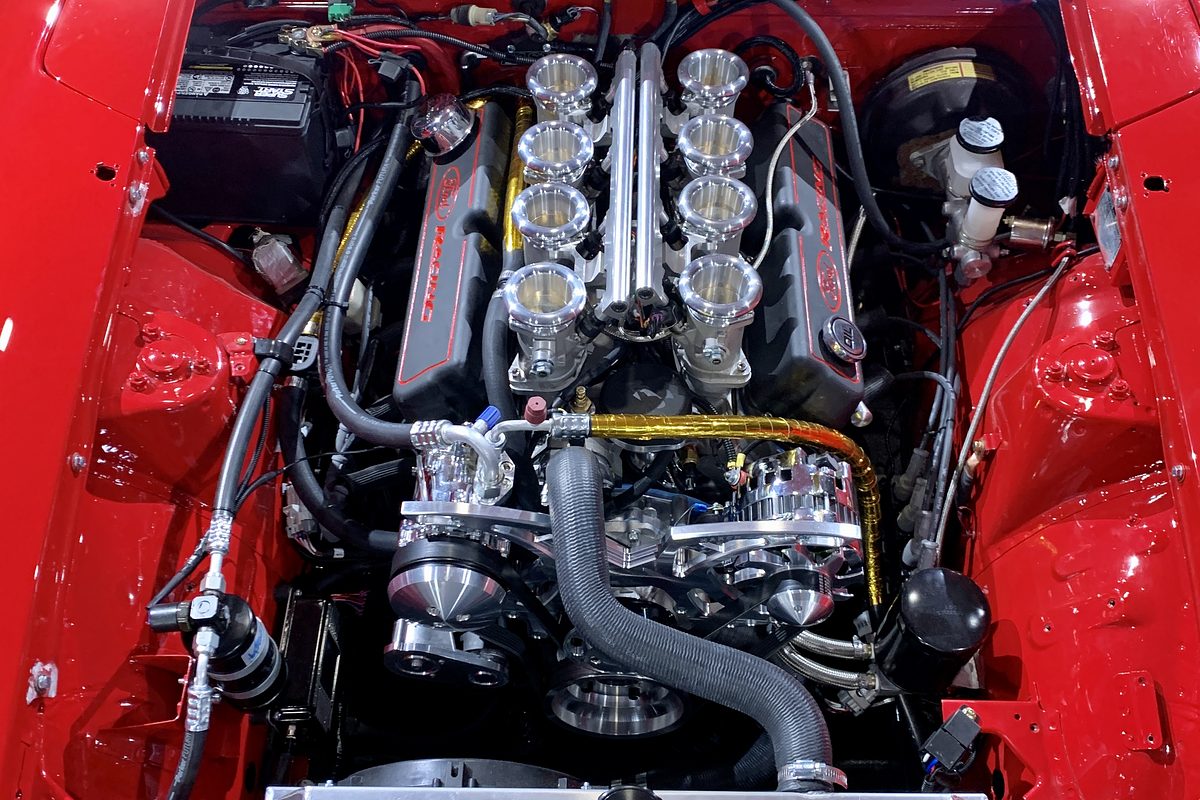
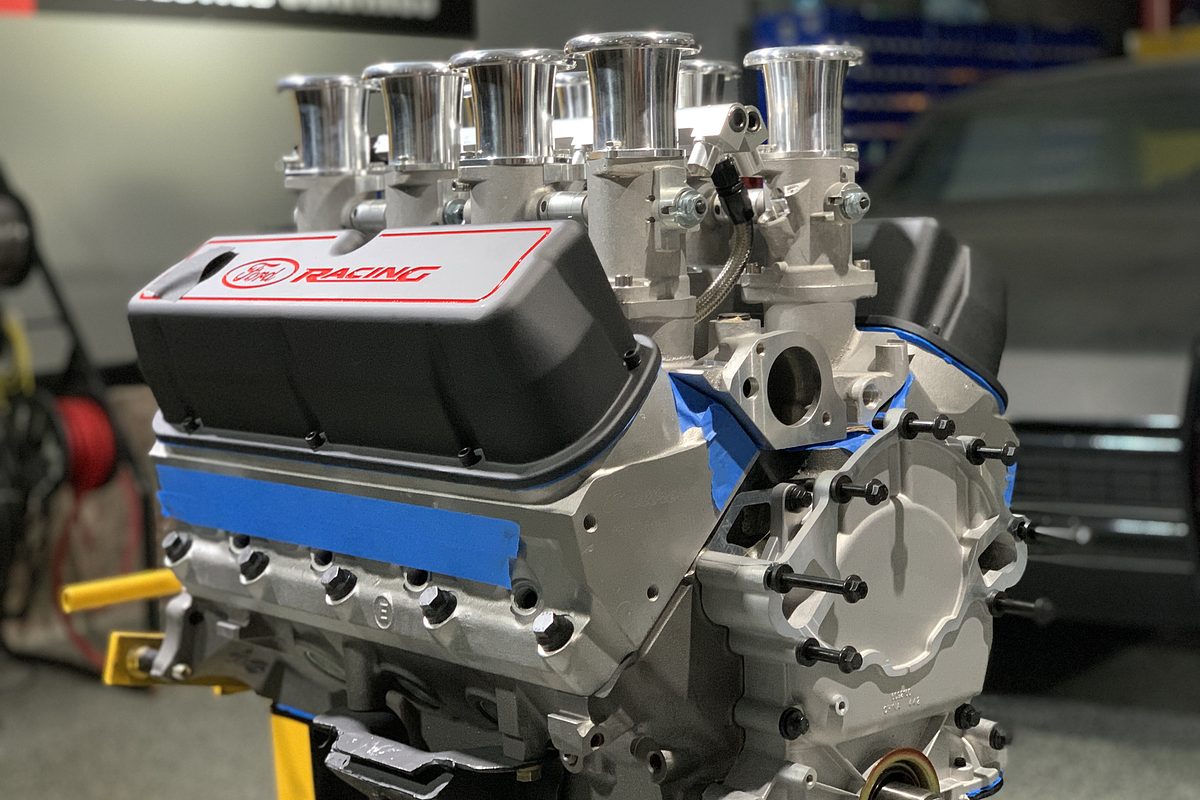
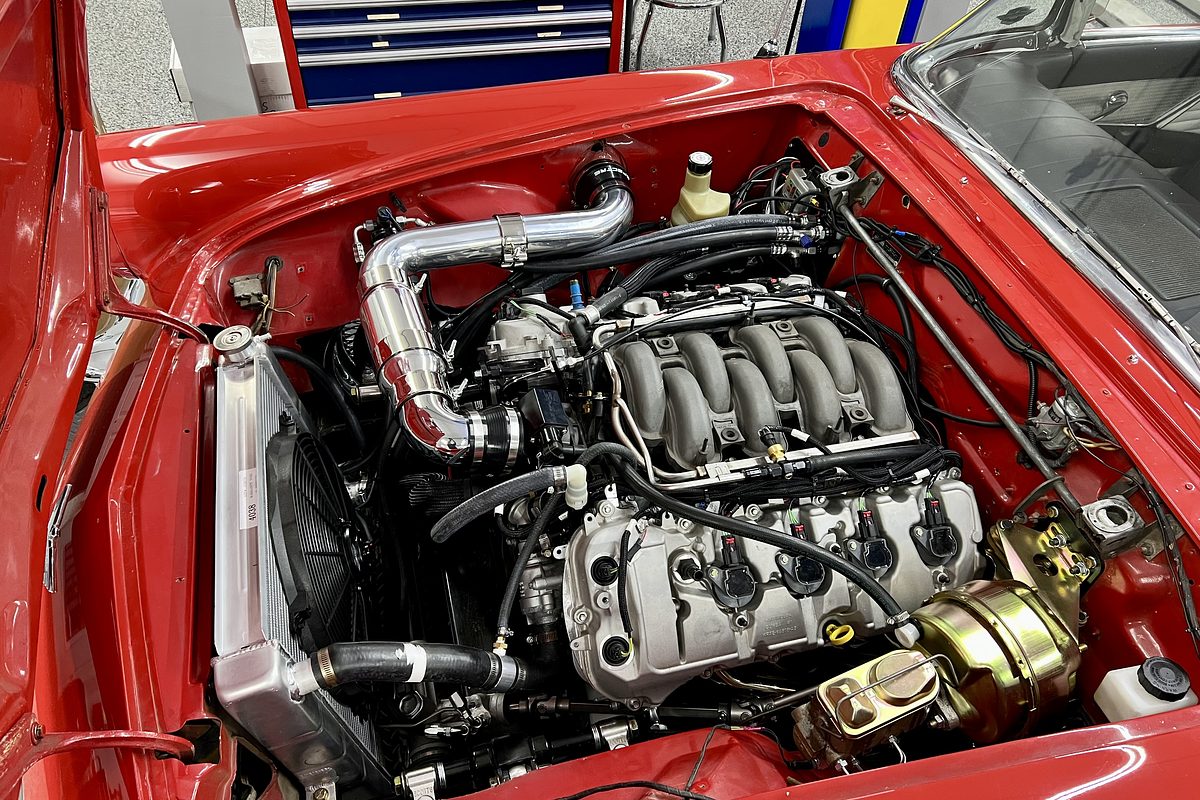
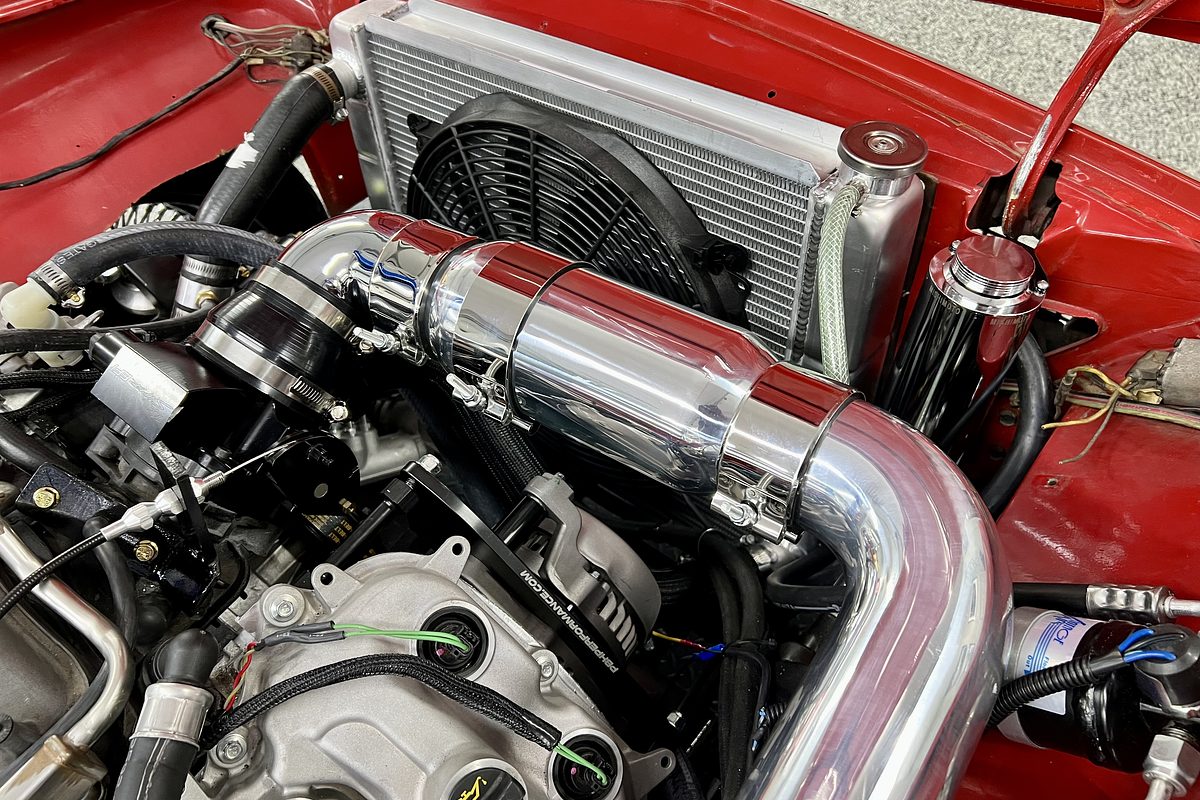
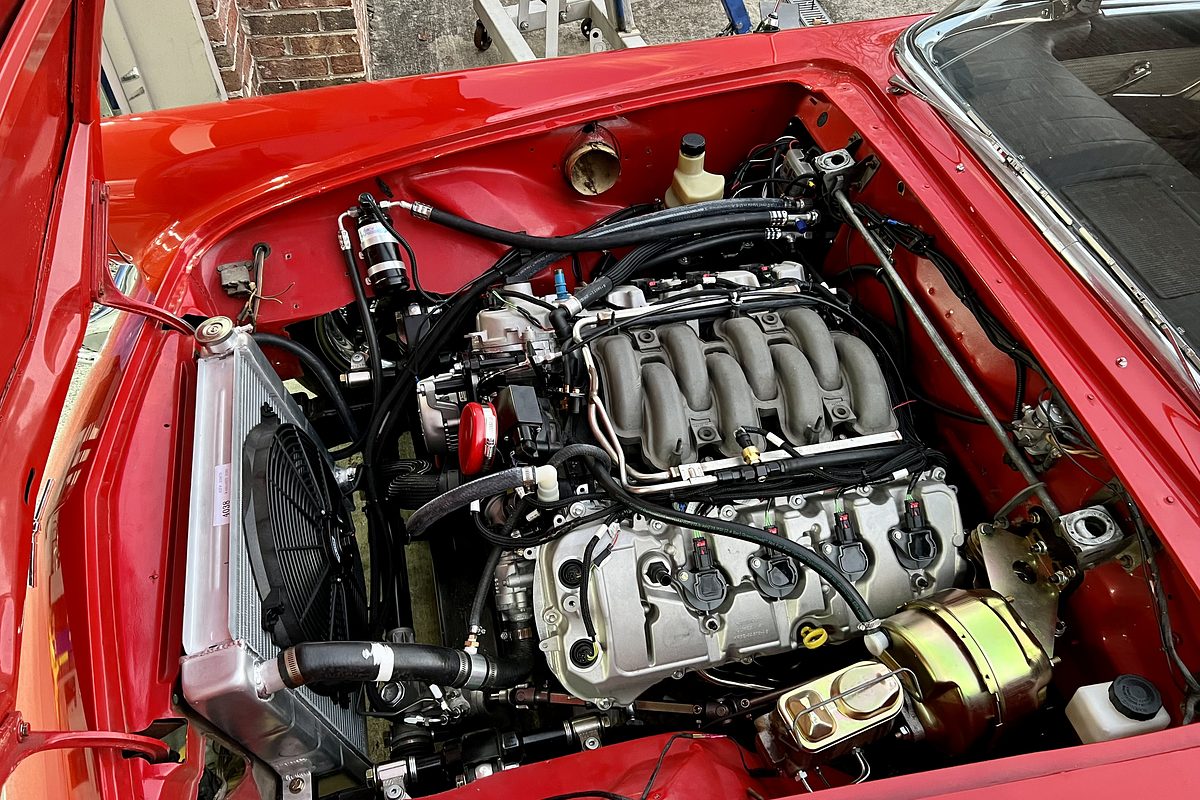
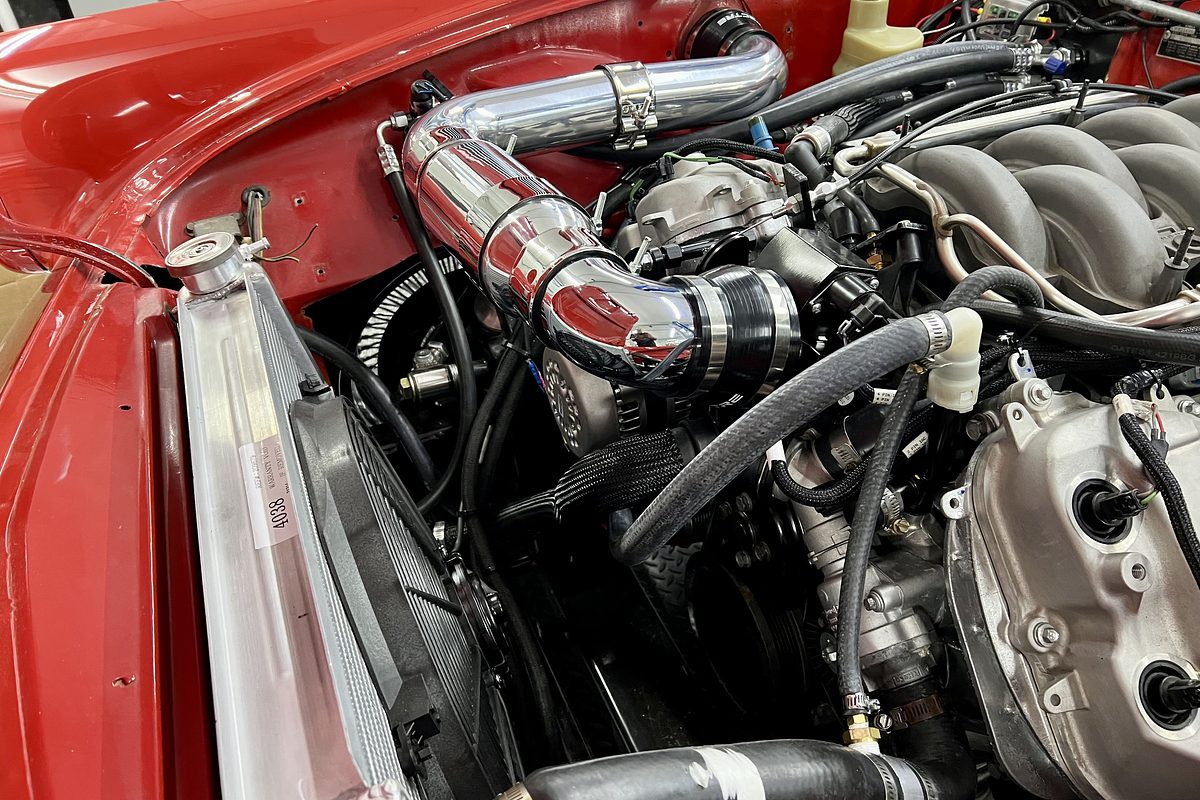
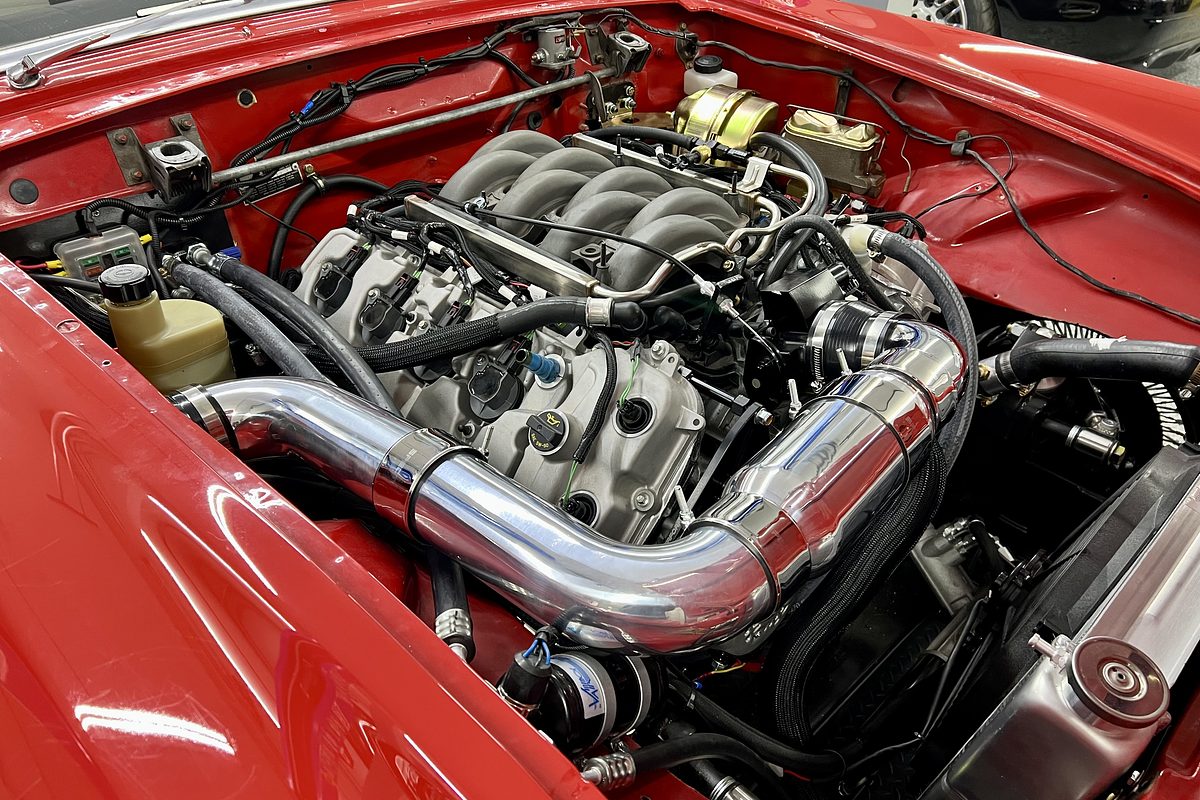
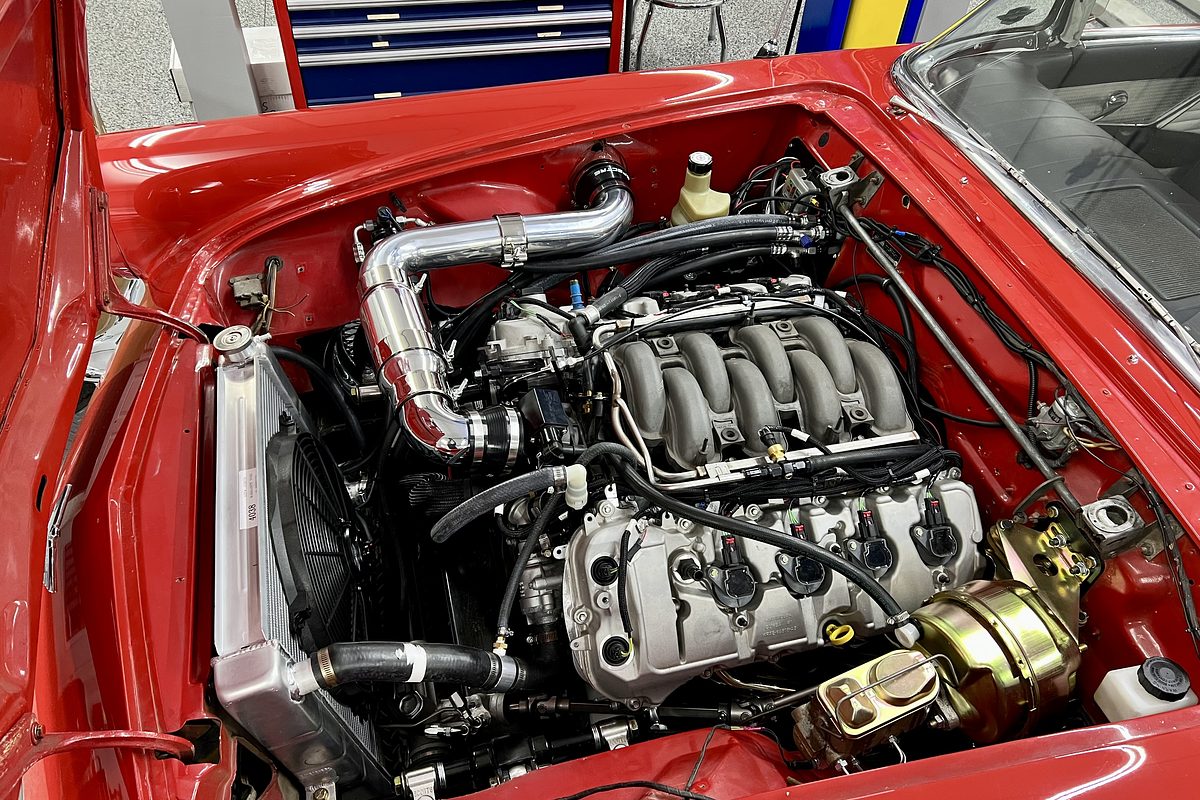
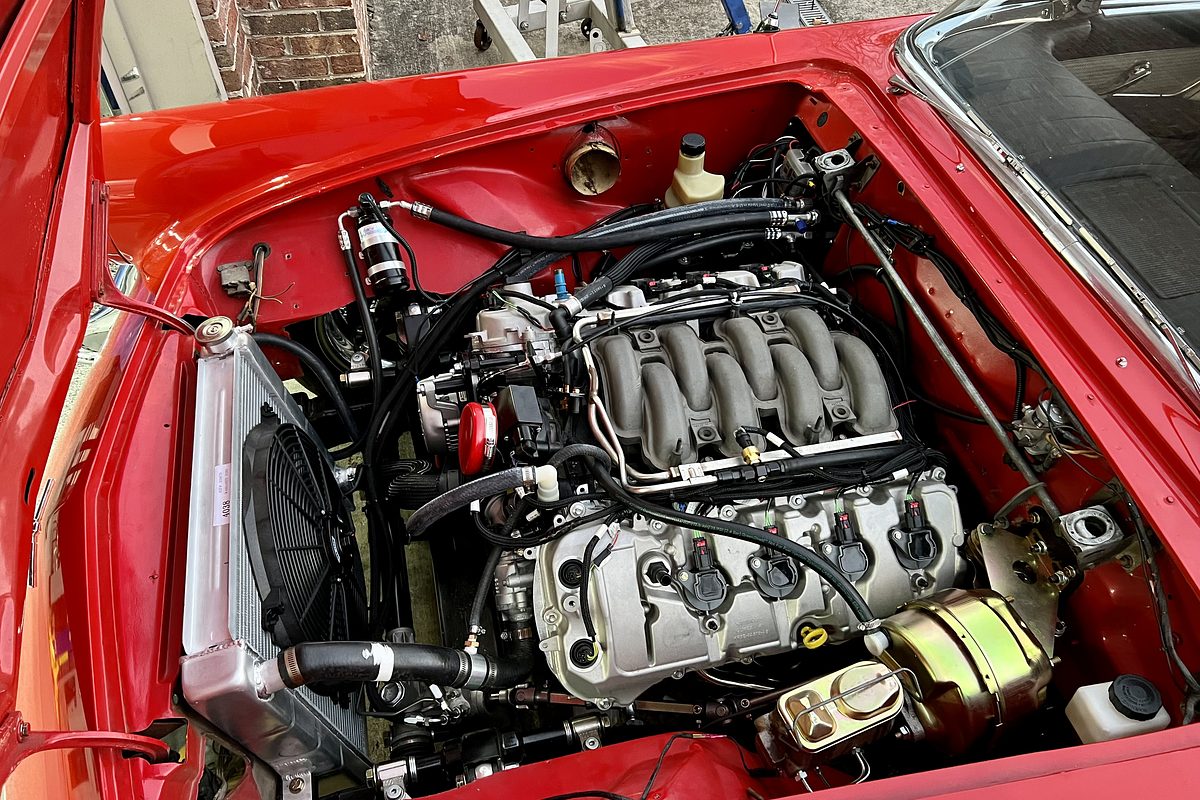
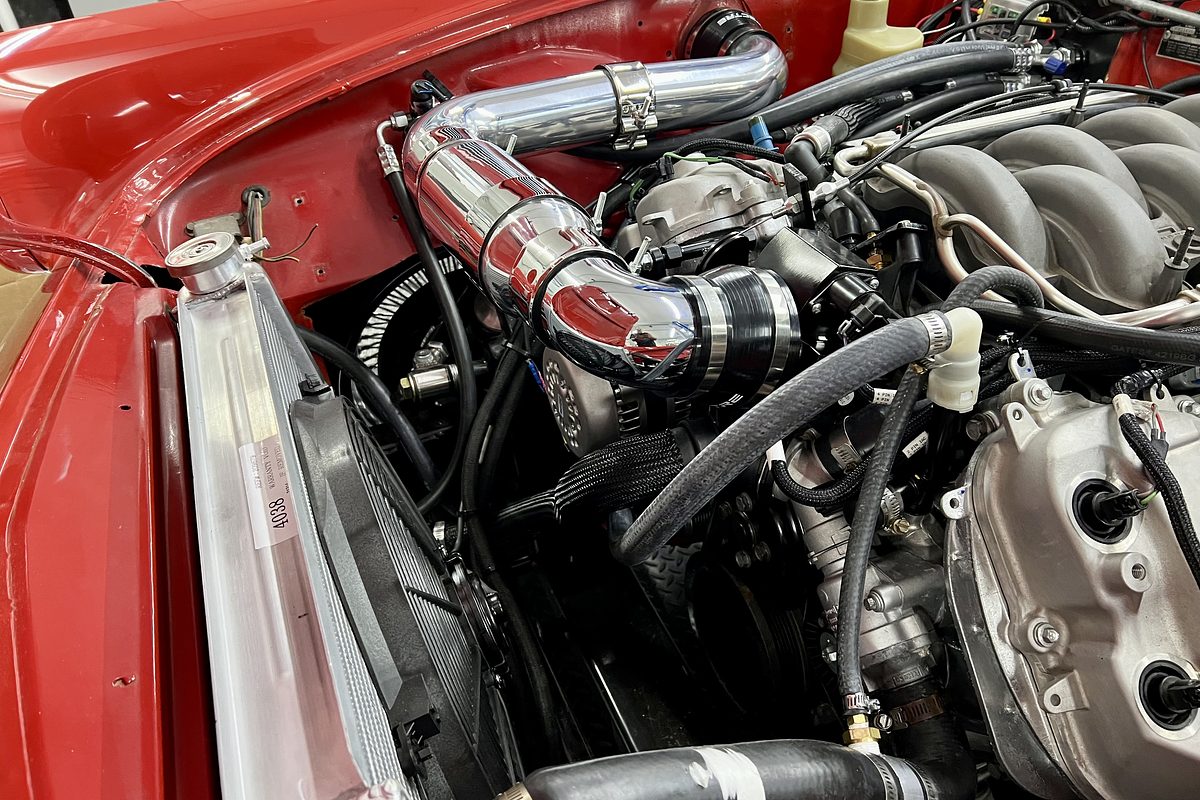
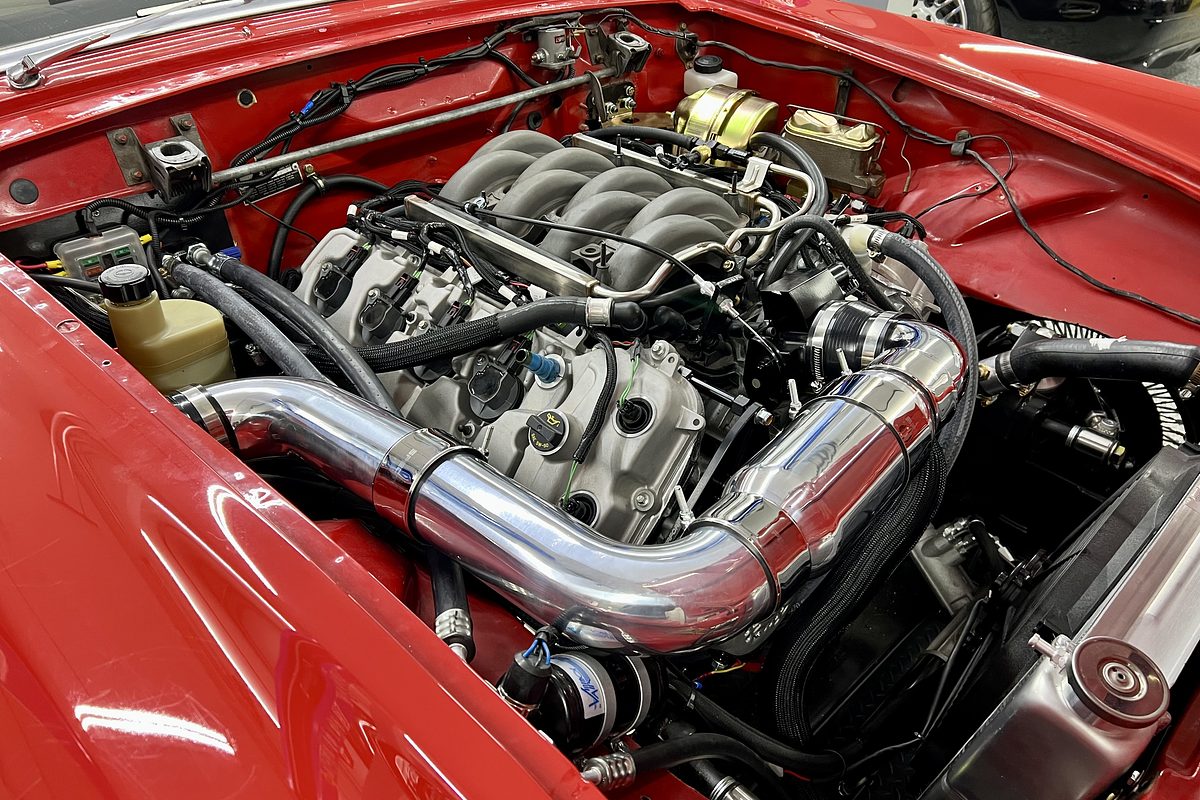
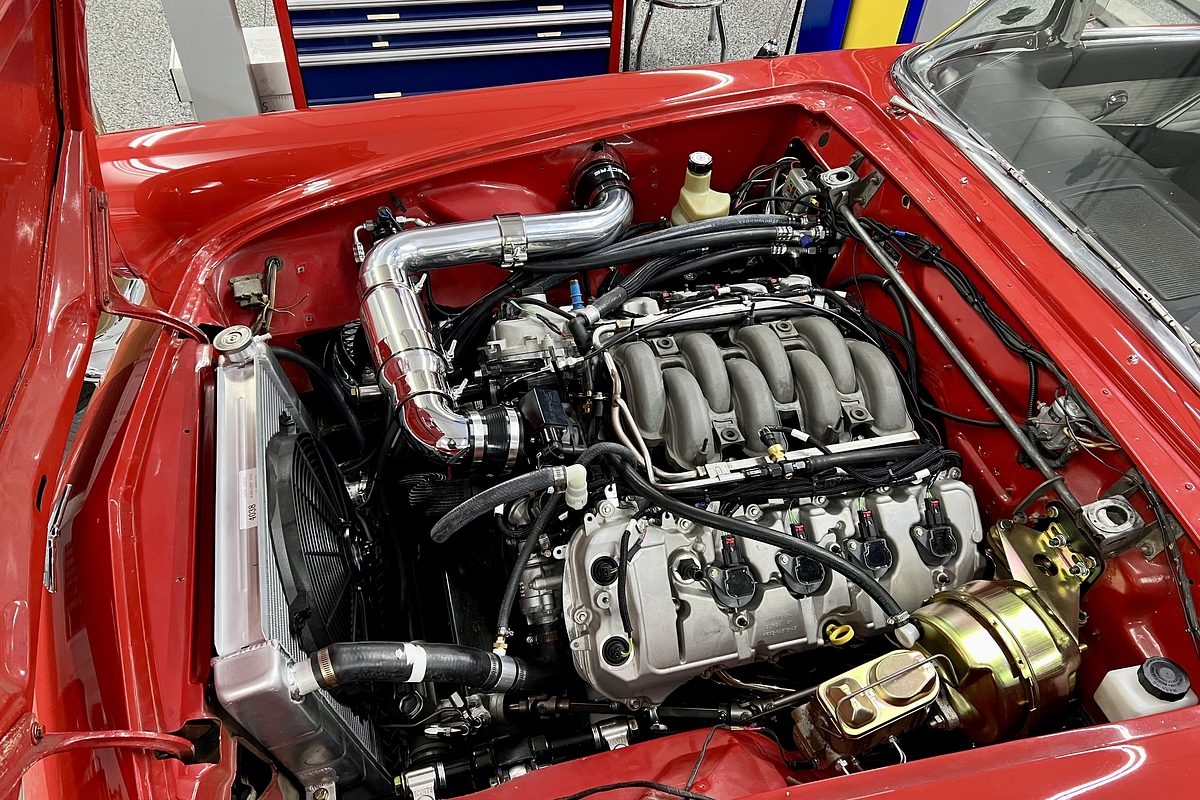
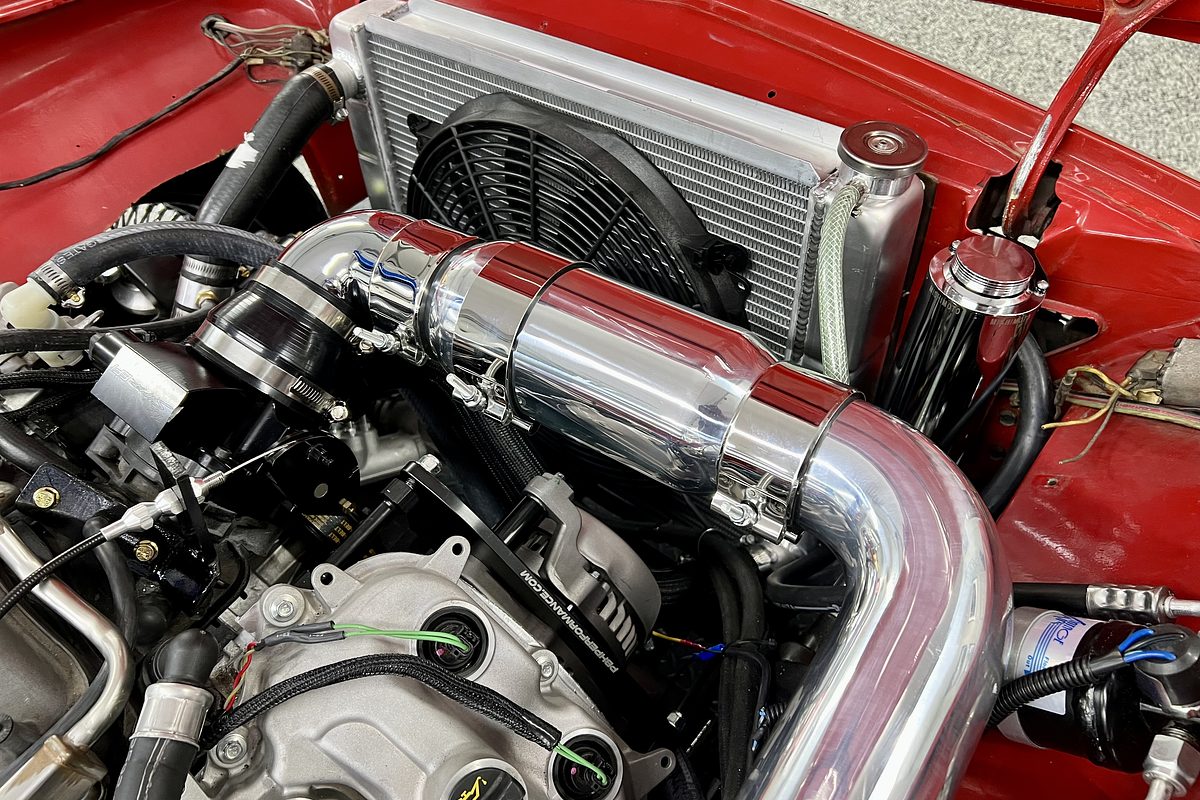
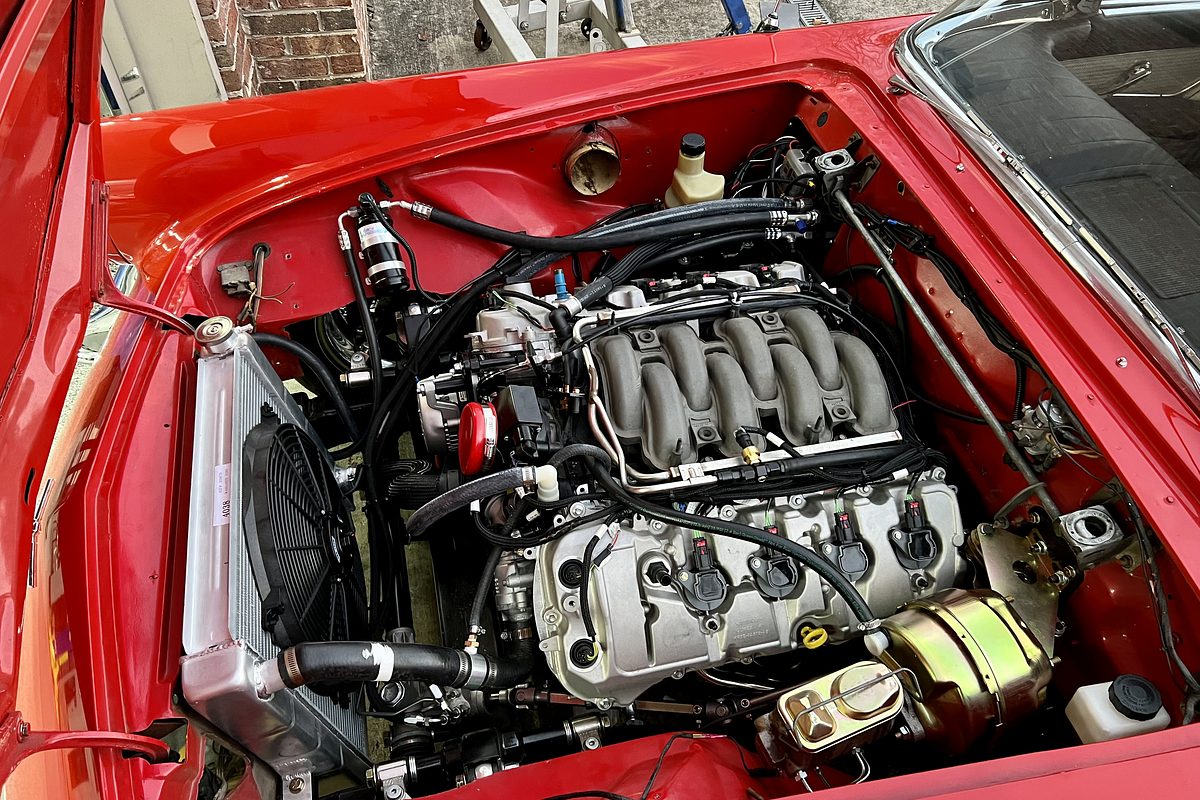
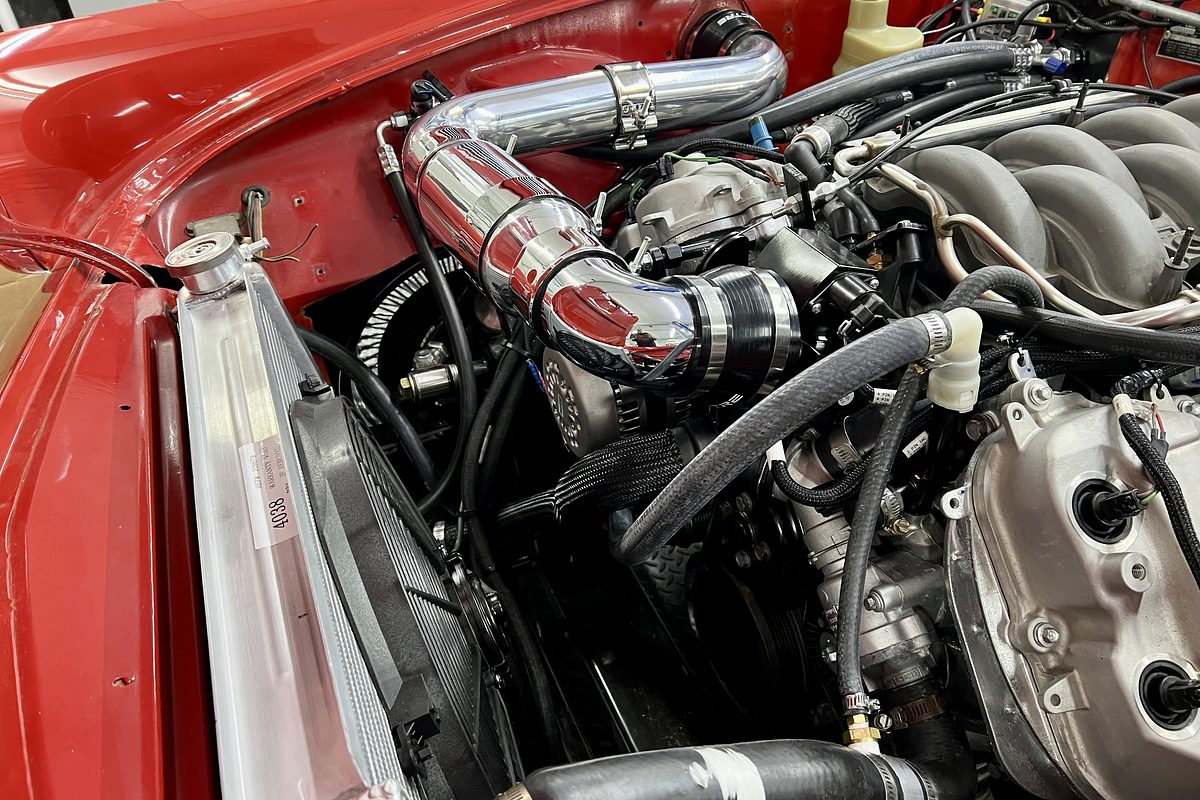
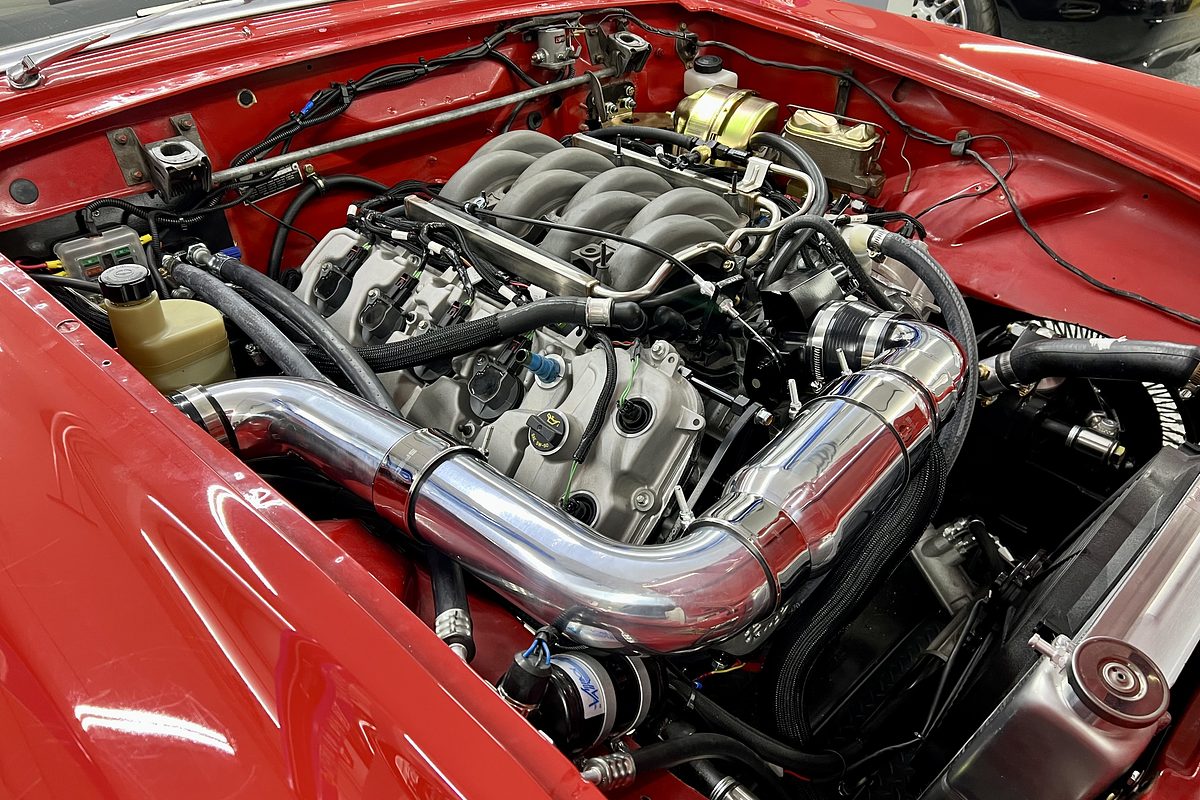
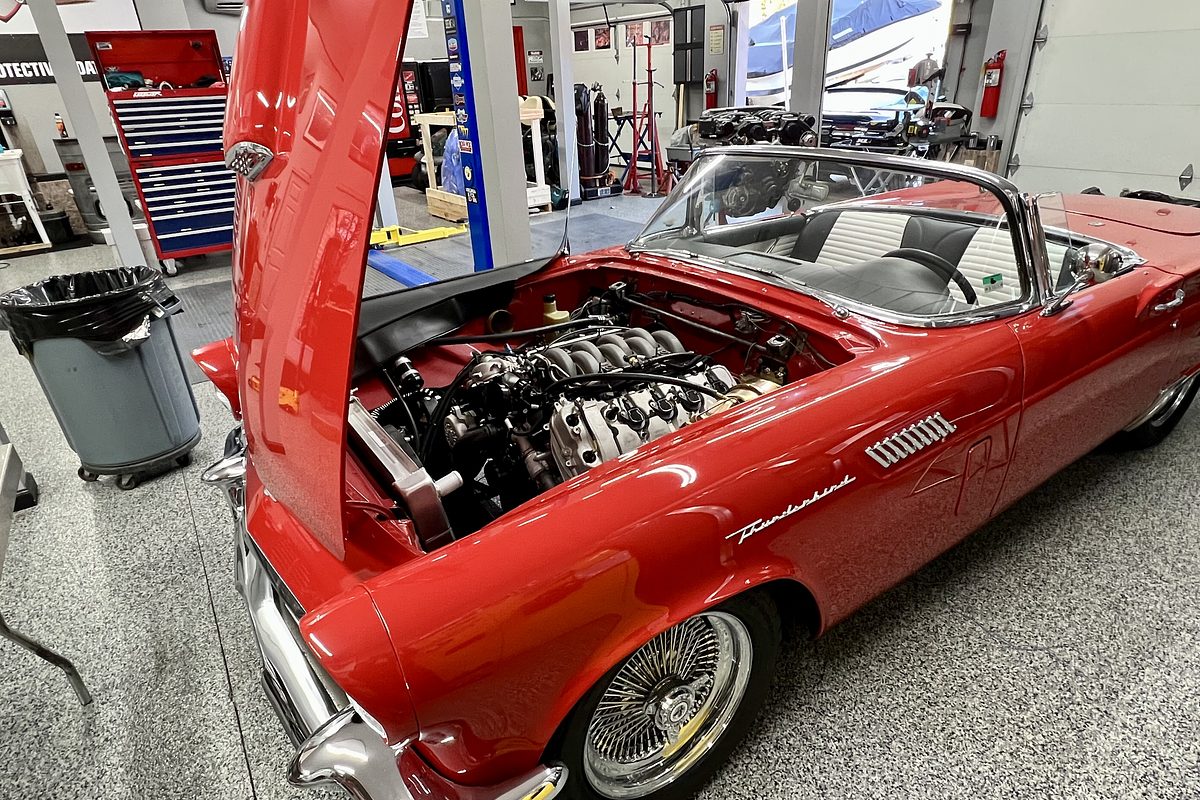
We installed a 5.0L Mustang Coyote engine with a five-speed transmission, hydraulic clutch, Holley computer system, digital dash, and Vintage Air conditioning.
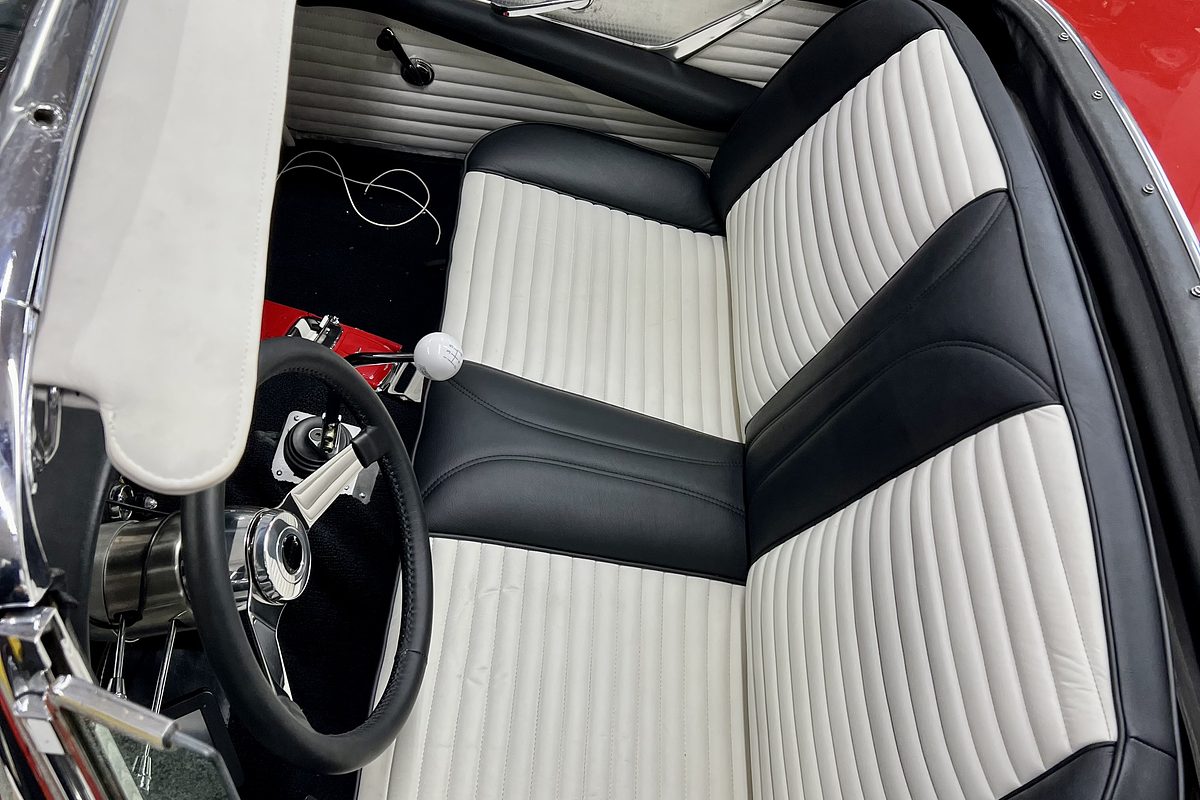
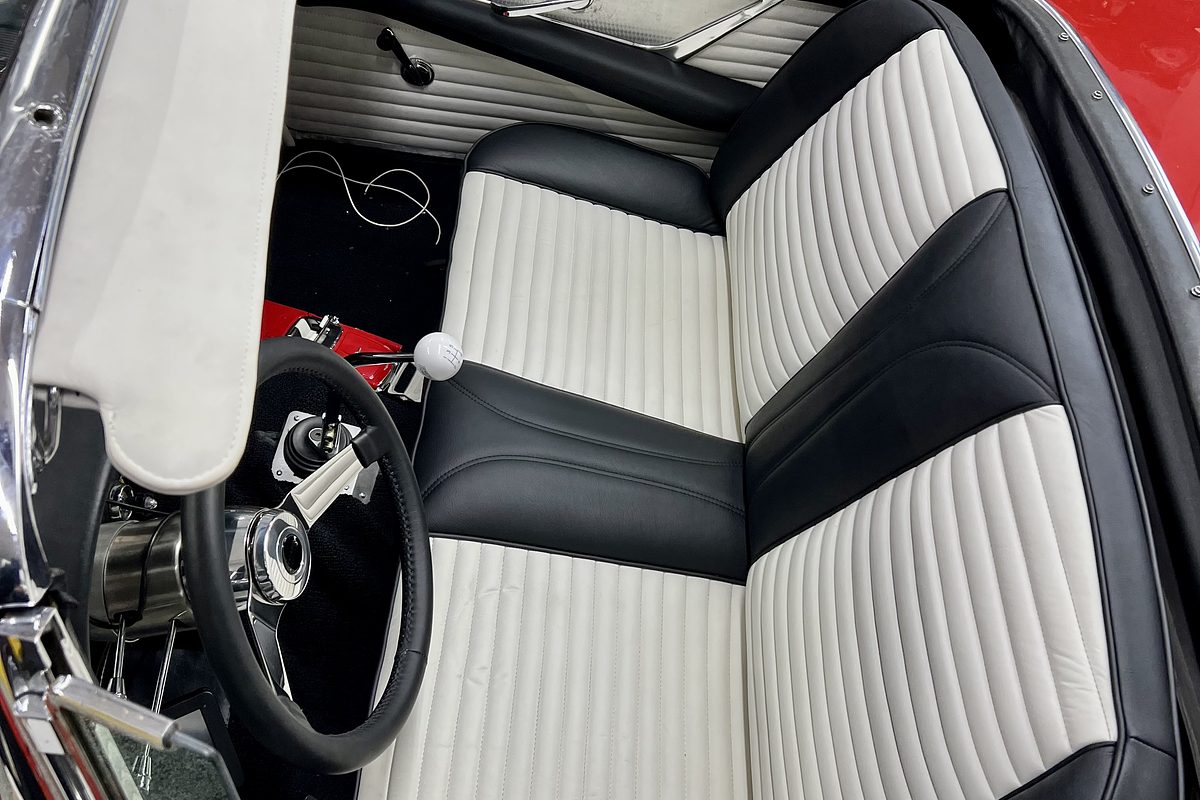
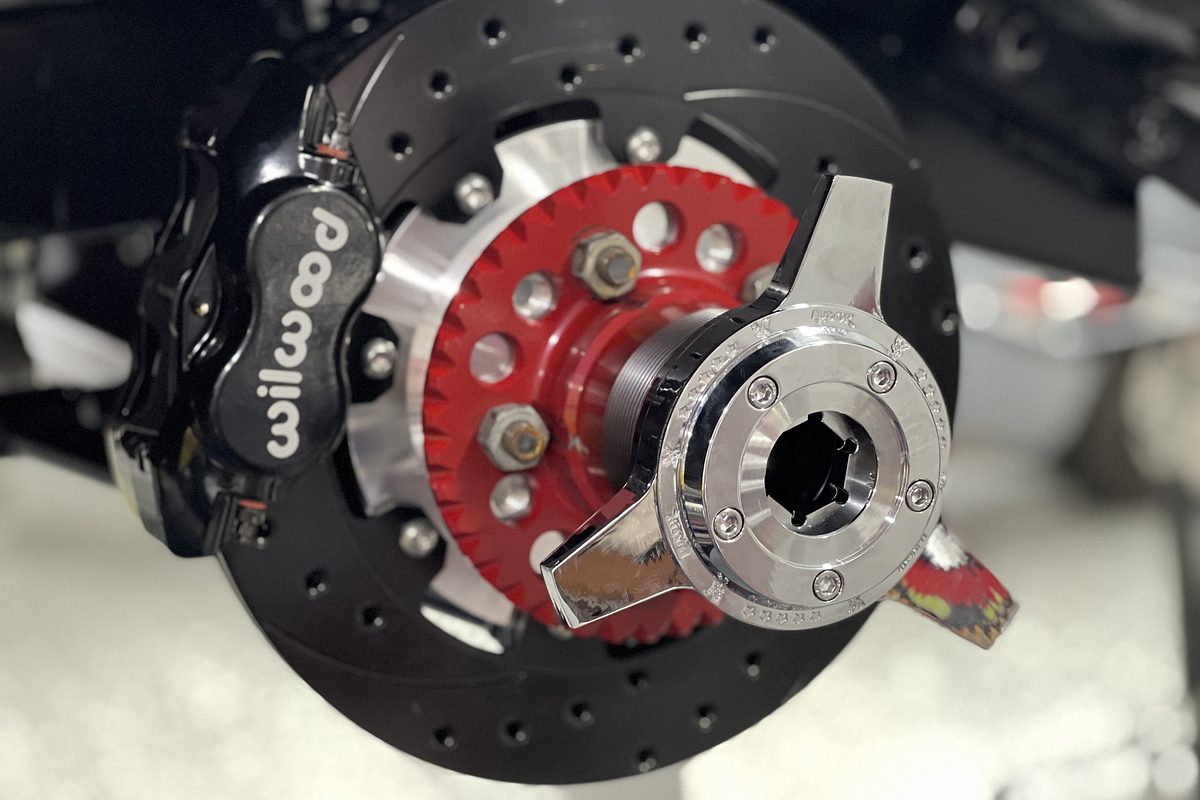
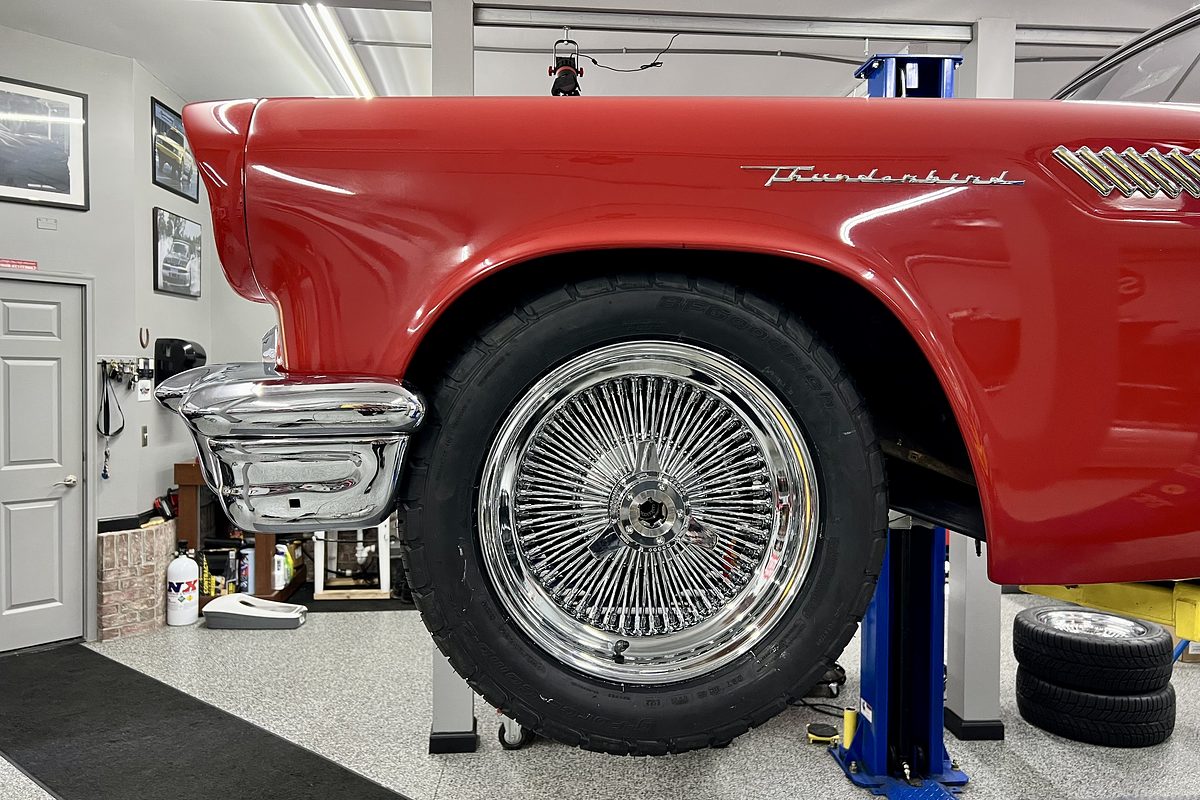
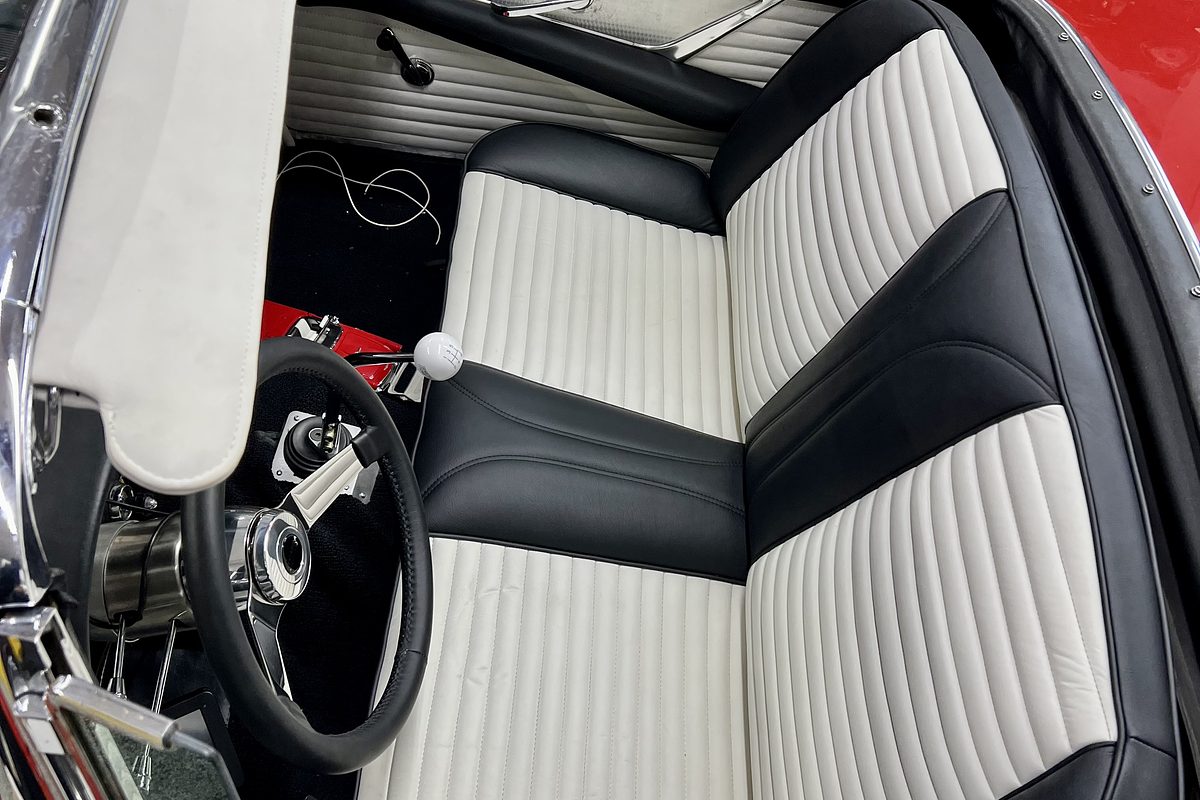
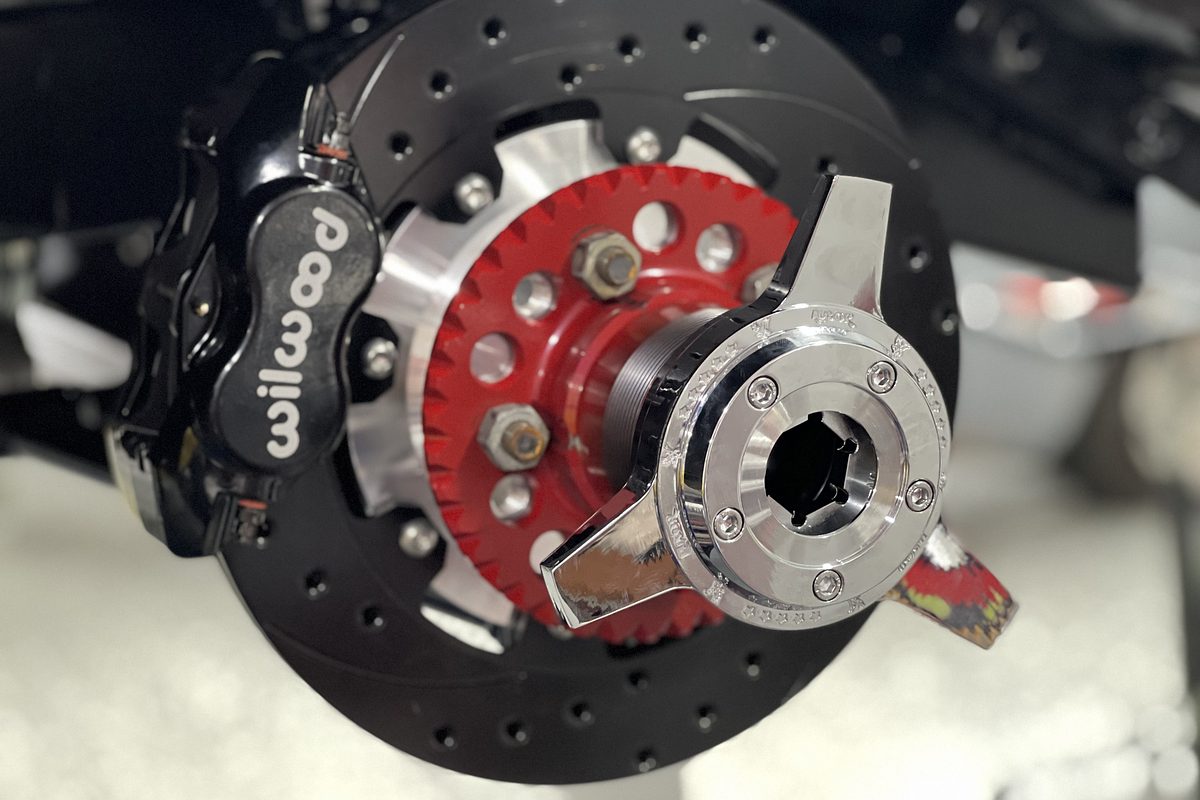
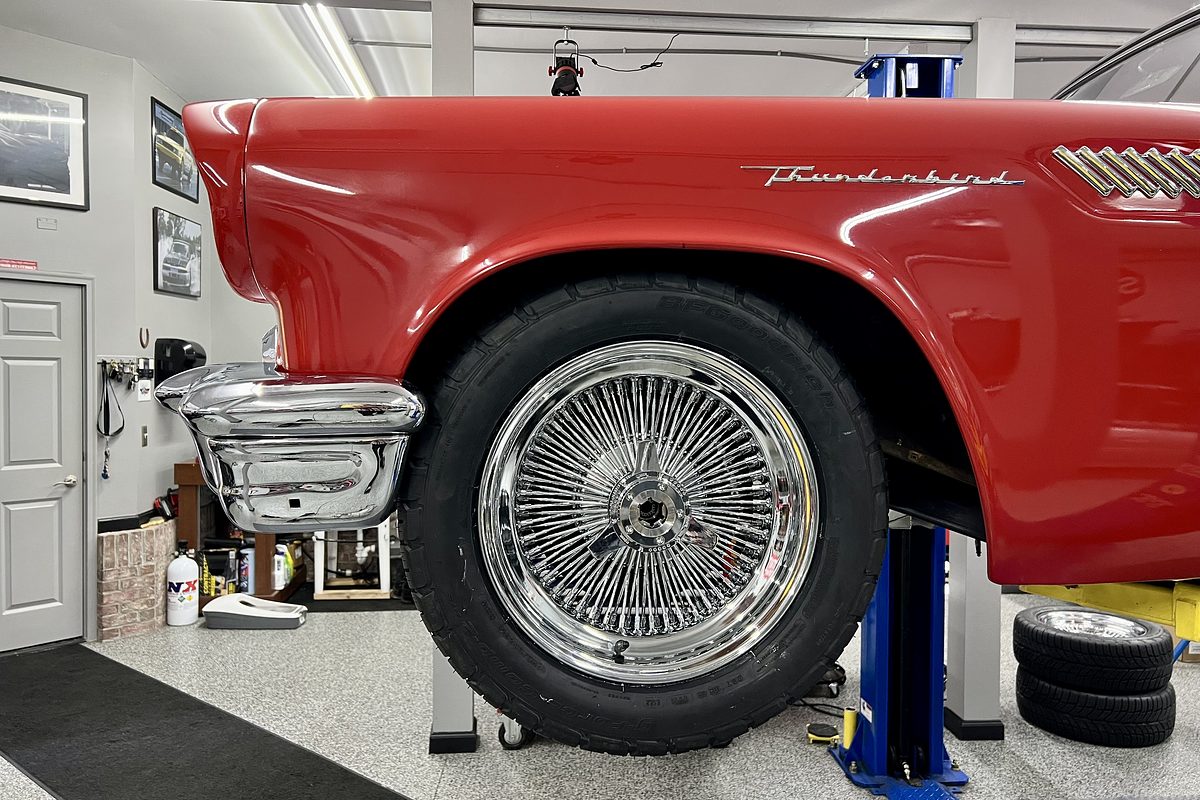
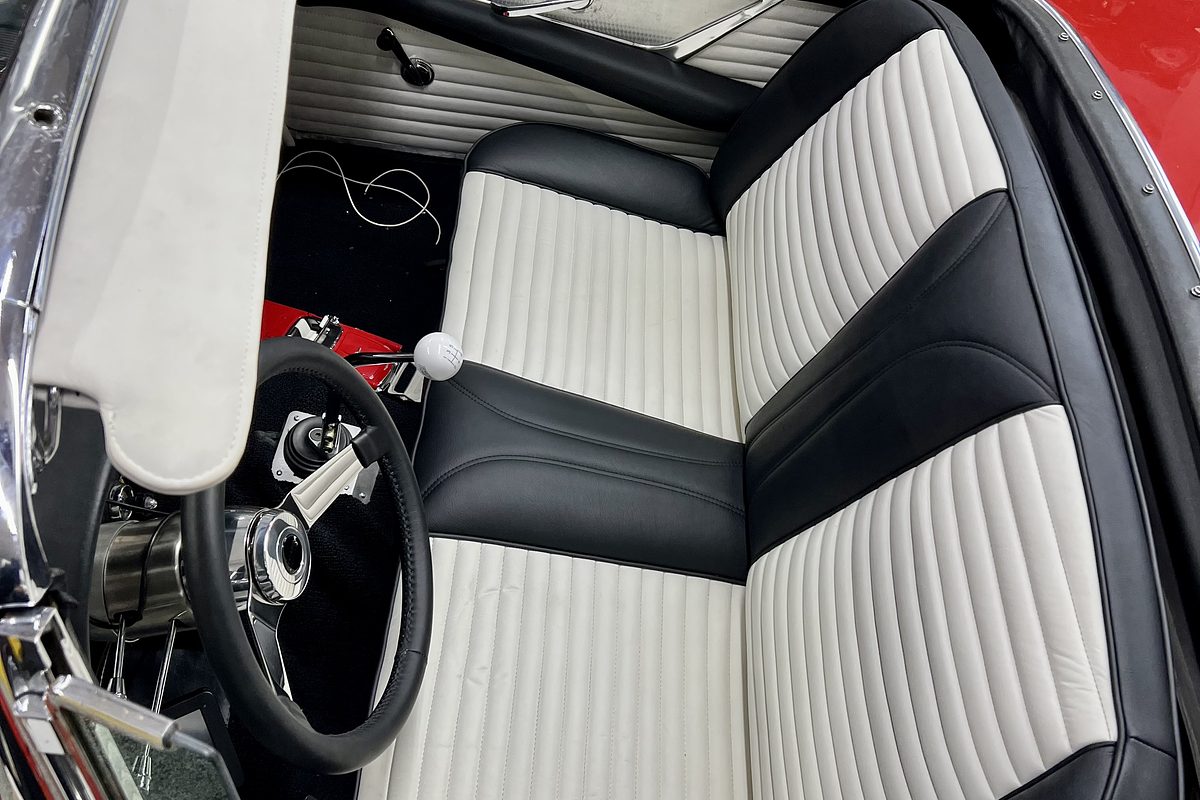
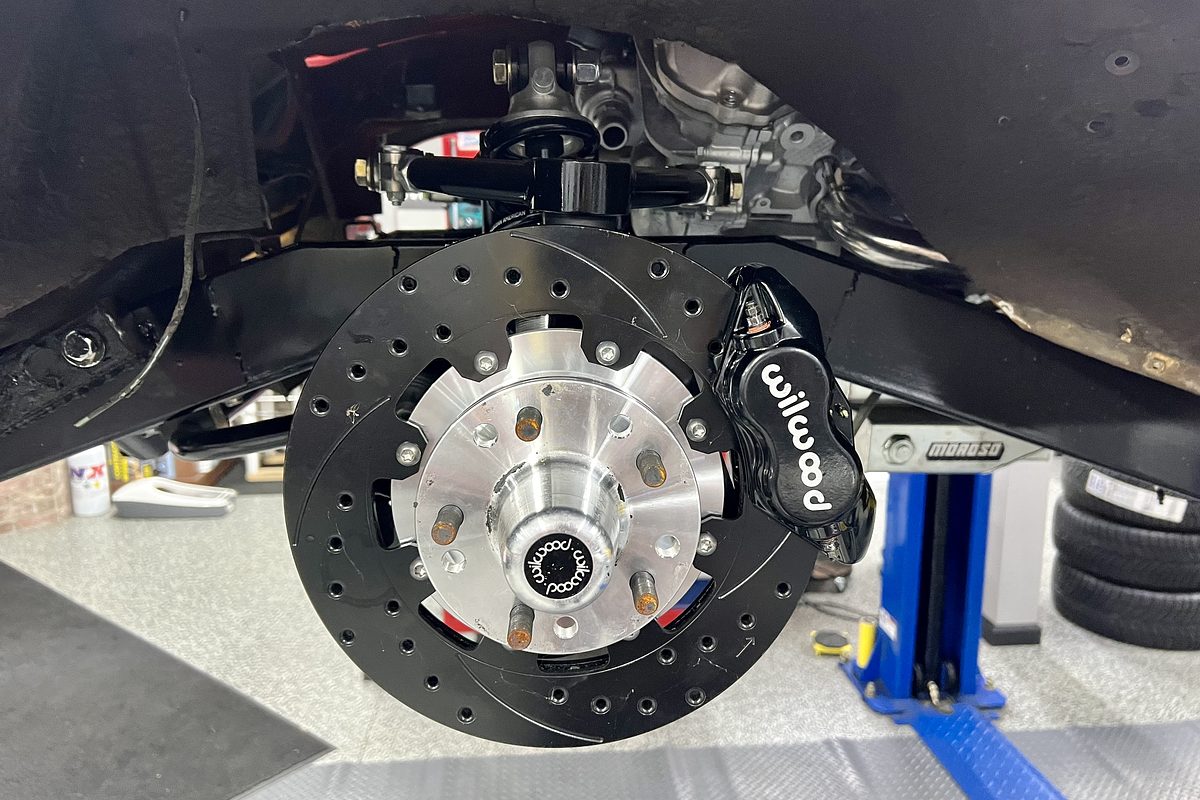
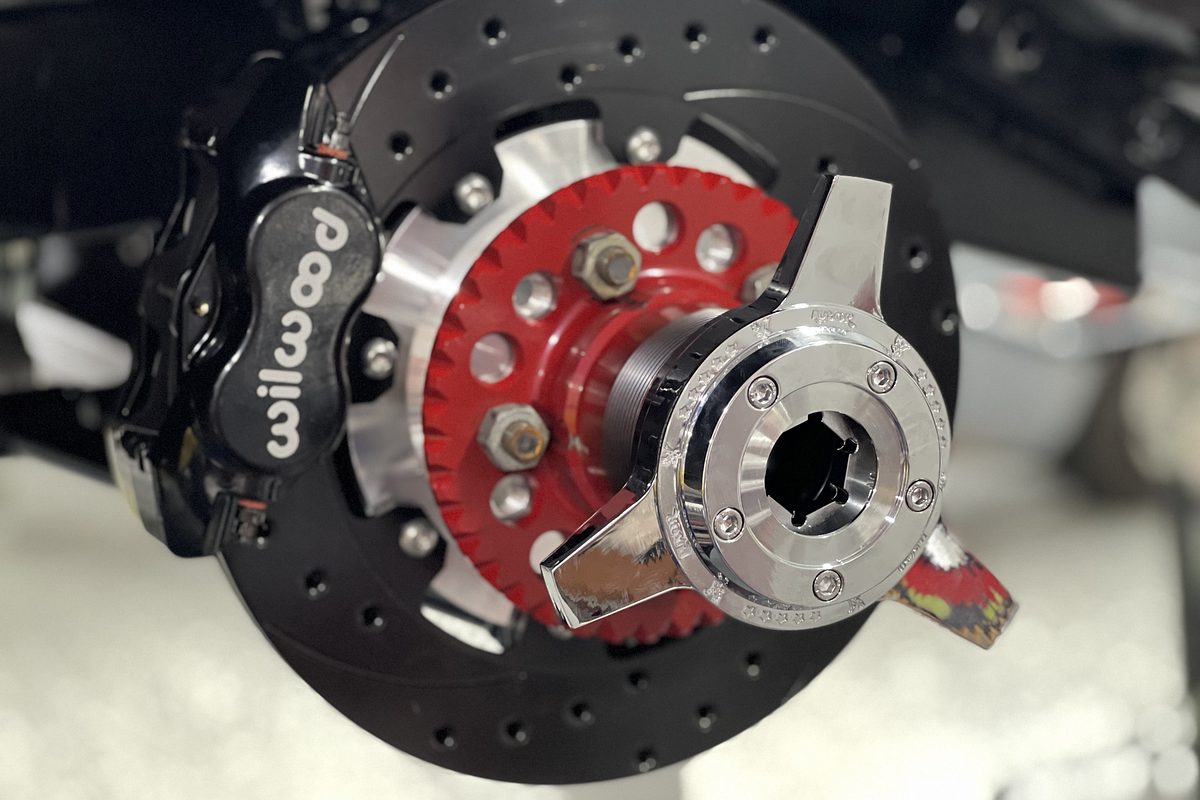
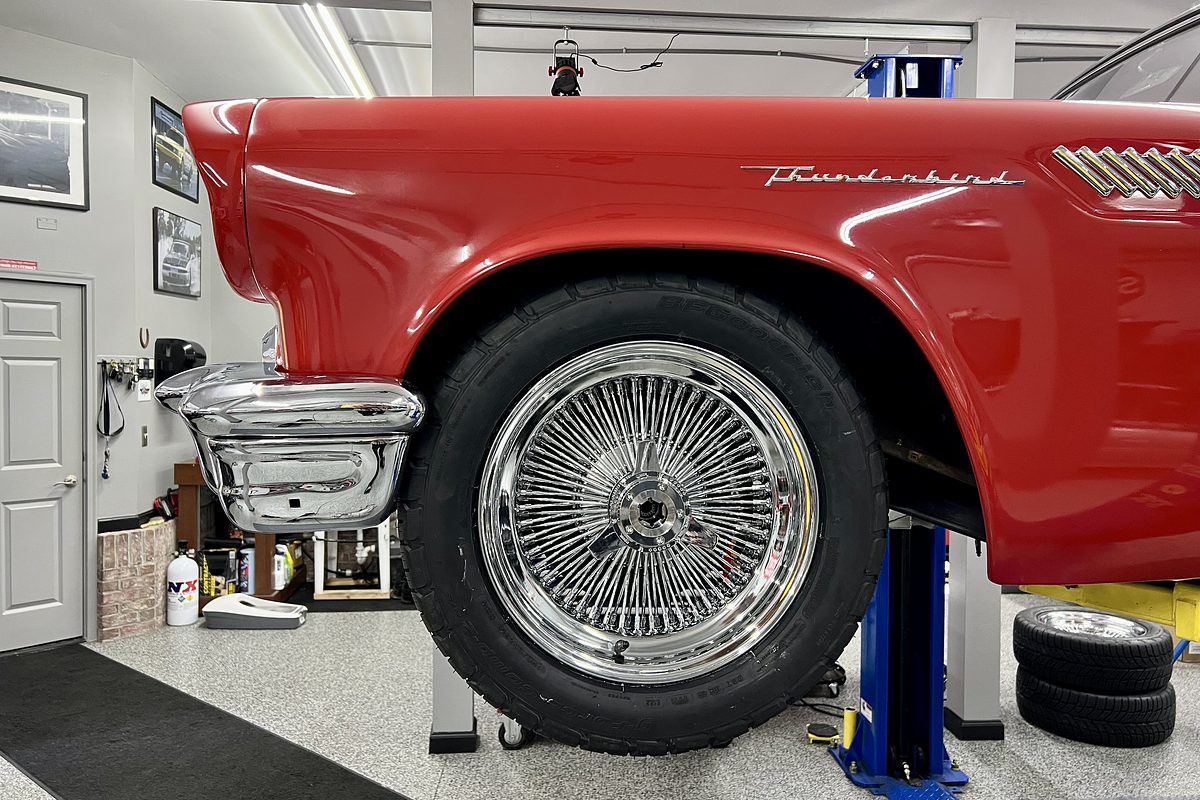
Underneath, we added a custom suspension with a four-link rear end and true knock-off wire wheels with no lug nuts. Inside, we took the original bench seat and customized it into two bucket seats, then completed an entirely new interior.
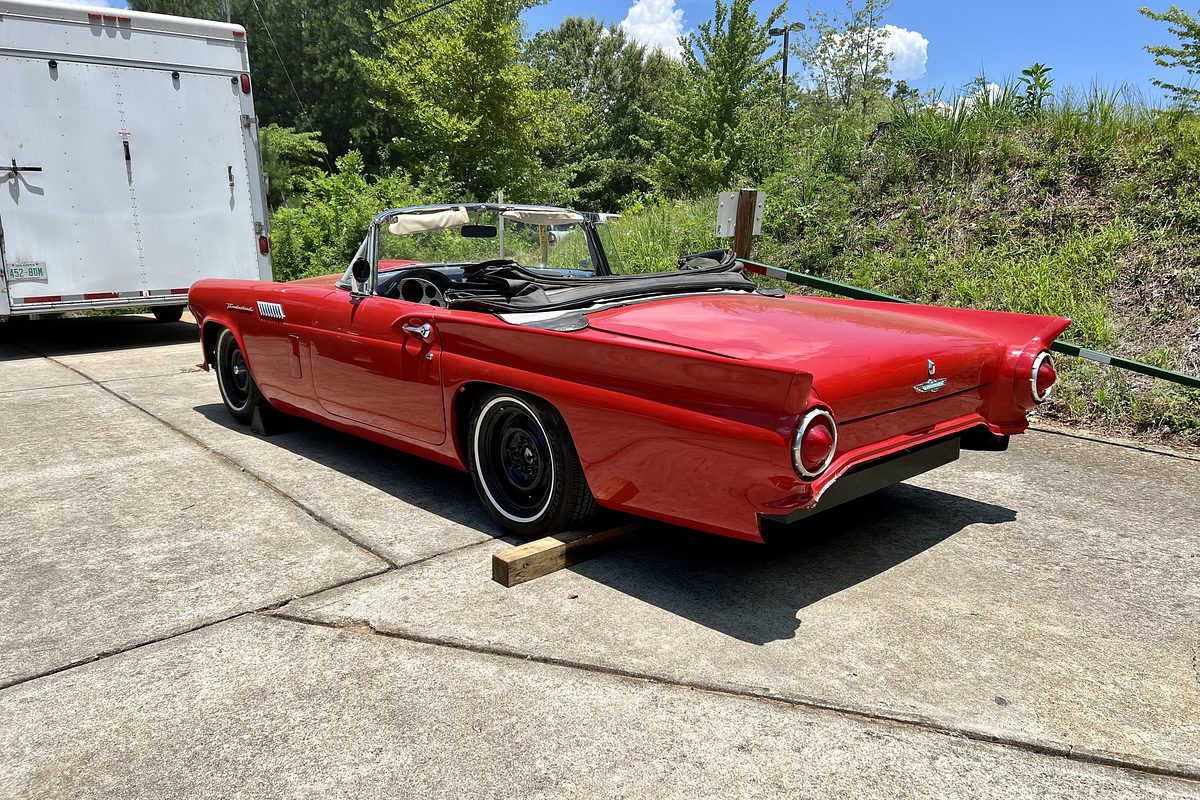
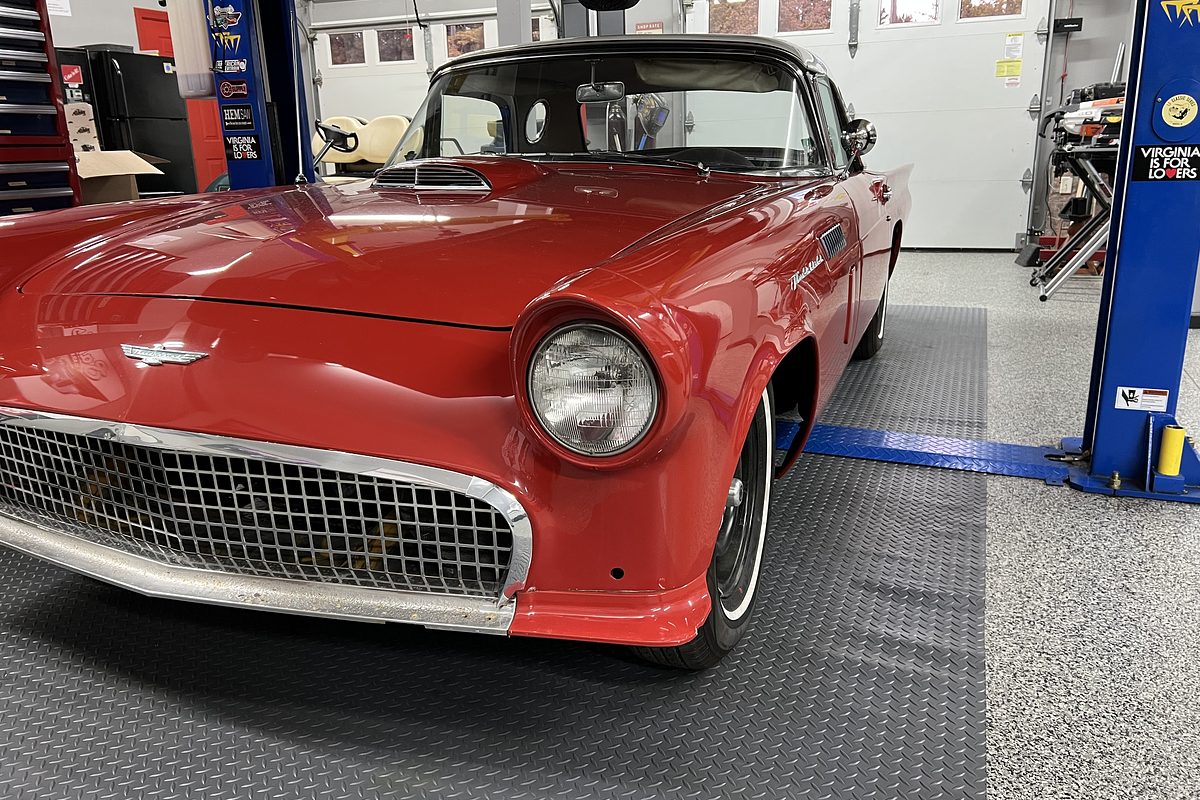
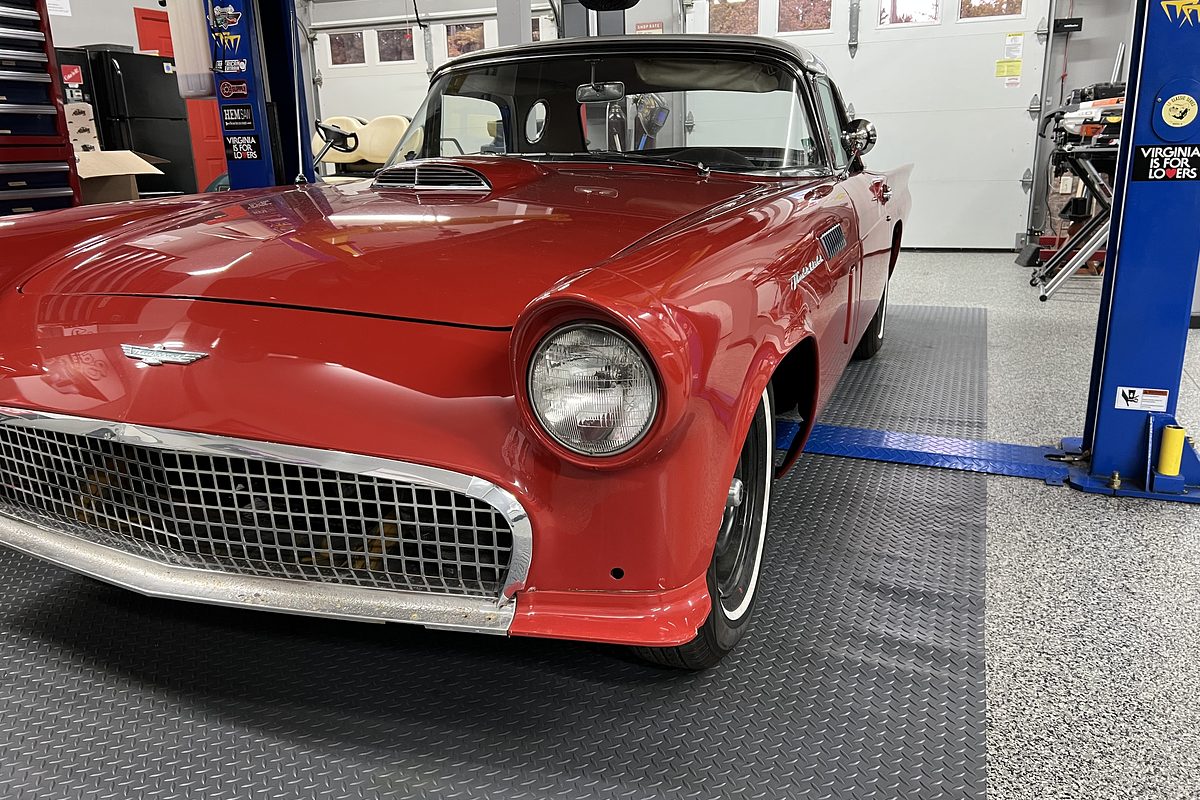
The finished Thunderbird is a beautiful combination of classic styling and modern performance.
And what makes it even more interesting?
There's only one other one like it in the country.

Restoration Timeline

Build Timeline

Chapter 2 Putting the Power to the Ground

1 photo ▶ video
Build clip

Milestone: Putting the Power to the Ground


With the new chassis, front suspension, four-link rear, 9-inch Moser rear end, and Coyote swap already in place, Sam and Doug turned their attention to getting that power to the road.
In this episode of Sam's Garage, they installed the clutch and flywheel, set up the hydraulic throwout bearing, finished the transmission assembly, and worked through proper shifter placement.
As Sam put it:
“It is a lot of work, but at the end, it's going to be well worth it.”
Another important step finished, and the '57 Thunderbird is getting closer to driving under its own power.

What We Learned:
The little details matter. Proper measurements, alignment, bearing installation, and clearances now can prevent some very expensive problems later.
Next up: Front accessory drive and radiator clearance check.

Chapter 2 Installing the Front Accessory Drive

1 photo ▶ video
Build clip

Episode 2: Installing the Front Accessory Drive


Sam and Doug keep moving forward on the 1957 Thunderbird, this time focusing on the Coyote engine's front accessory drive.
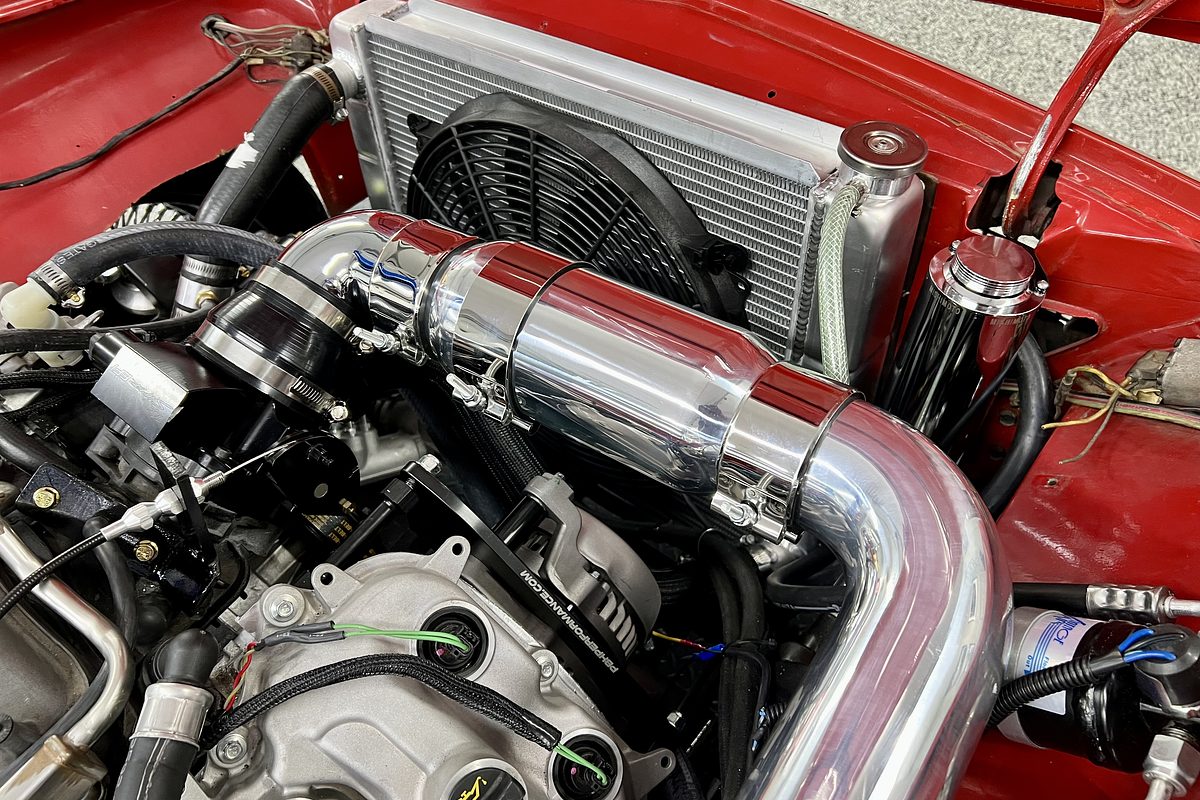
They install a Vintage Air accessory drive system, which adds the A/C compressor and, importantly, a power steering pump. The Coyote normally uses electric steering, but this Thunderbird is being built with a power rack-and-pinion setup, so the hydraulic pump is needed.
The installation requires some custom work, including cleaning the aluminum block threads, modifying a small interference point, and carefully drilling and tapping the engine block for the new brackets.
Throughout the installation, Sam stresses one big lesson:

Mock everything up before final assembly.

With aftermarket parts and a custom build like this, small adjustments are normal. By the end of the episode, the accessory drive is in place and they confirm they should have enough room for the cooling system.

What We Learned:

 Take your time, measure before drilling, and mock everything up. A few minutes checking fitment now can save a lot of headaches later.
Next step: Getting the cooling system fitted and making sure everything clears.

Chapter 2 Making Modern Power Fit

1 photo ▶ video
Build clip

Episode 3: This video is part of a multi-part Sam's Garage TV restoration series, documenting the build from beginning to end.

We're preserving the complete project on My Steward Registry, where the videos, photos, build details, modifications, milestones, and story behind the vehicle can all live together in one place.

This is one of 13 segments from the original television build. As we document the project, we'll be adding more details about the work performed, the people involved, and the story behind the build.

Follow along as we preserve not just the finished vehicle, but the entire journey that got it there.

Every vehicle has a story. Every story is worth preserving.

My Steward Registry

Sam and Doug continue the 1957 Thunderbird build by installing the Vintage Air front accessory drive on the Coyote engine.
The system adds the A/C compressor and hydraulic power steering pump needed for the Thunderbird’s new power rack-and-pinion steering.
Like most custom builds, it isn’t simply bolt-on and go. They clean and chase the aluminum block threads, make a small clearance modification, and carefully drill and tap the block to mount the new brackets.

Sam’s biggest lesson from this episode:
“Mock it up. Mock it up. Make sure things are going to fit.”
By the end, the accessory drive is installed and they confirm there appears to be enough room to move forward with the cooling system.

What We Learned:
Custom builds require patience. Test-fit everything before final assembly because small adjustments are normal when combining modern components with a 1957 vehicle.
Next up: Mocking up the cooling system and checking clearances.

Chapter 2 Bringing Back the Chrome

1 photo ▶ video
Build clip

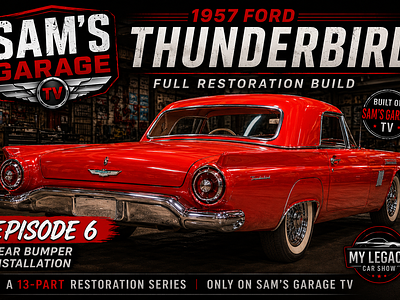
Episode 4: Bringing Back the Chrome


This episode is all about getting the front bumper fitted to the 1957 Thunderbird.
The original bumper was dented and needed work, so Doug sourced a replacement from Bumper Depot. But with the Thunderbird sitting on its new custom frame, mounting it wasn't exactly a bolt-on job.

Sam and Doug installed the bumper wings and lights, then used newly fabricated brackets to position the bumper correctly before welding everything to the frame. They protected the paint, cleaned the metal for proper weld penetration, and spent plenty of time getting everything lined up just right.
Nine hours later, the result was worth it.

As Doug put it:
“It was a little bit of work, but it came out absolutely beautiful.”
They also made the decision to keep the original-style chrome look because it's such an important part of what made these 1950s cars special.

What We Learned:
Custom work takes time. Fit it, adjust it, tack it, check it again, and only then finish the job.
Next up: The rear bumper — and they're hoping it's easier than the front.

Chapter 2 Finishing the Chrome

1 photo ▶ video
Build clip

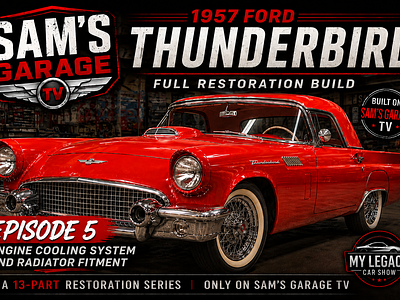
Episode 5: Finishing the Chrome


Sam and Doug turn their attention to the rear bumper of the 1957 Thunderbird after completing the more difficult front bumper installation.
The new rear bumper comes in two pieces, so they first assemble it with new hardware, washers, and lock washers before mock-fitting it to the car.

Once positioned, they check the bumper from several different angles, clamp it in place, and tack weld the brackets before committing to the final welds. After everything checks out, the brackets are fully welded and painted to protect the bare metal from rust.
This one goes a lot smoother than the front bumper.
As Doug says:

“The front bumper came out absolutely wonderful, and I’m sure the rear will, too.”
They also point out something important about restoring an old car: original-style parts don't always fit perfectly. These bumpers were stamped in the 1950s, so small gaps and imperfections are part of the process.

What We Learned:
Don’t chase perfection where it never existed. Mock it up, tack it, stand back and look at it from different angles, then weld it once you know everything looks right.
With both chrome bumpers now installed, the Thunderbird is starting to look like a finished car again.

Chapter 2 Making Progress While Waiting on Parts

1 photo ▶ video
Build clip

Episode 6: Making Progress While Waiting on Parts


With parts still delayed, Sam and Doug decide not to let the 1957 Thunderbird sit still. Instead, they tackle everything they can while they wait.

They install the Holley fuel system and fuel filter, run the fuel lines, fit the Jamco brake booster, and begin working through the clutch hydraulics from American Powertrain.
A big addition is the custom fabricated aluminum fuel tank, designed specifically to follow the Thunderbird's frame and hold nearly 20 gallons.
As usual, not everything fits perfectly. The clutch pedal setup needs to be re-engineered, the master cylinder requires some creative positioning, and the battery will be relocated to the trunk.
But that's becoming part of this build's story.
“Let’s just get after what we can do.”

What We Learned:
Don't let one missing part stop an entire project. Keep moving forward with what you have, and be willing to adapt when a custom build doesn't go exactly according to plan.
By the end of the episode, the fuel system, braking system, and hydraulics are another big step closer to completion.

Chapter 2 Brakes, Bearings & a Little Grease Monkey History

1 photo ▶ video
Build clip

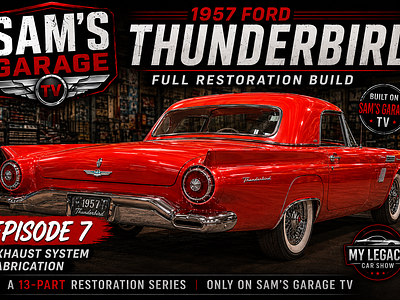
Episode 7: Brakes, Bearings & a Little Grease Monkey History


Sam and Doug turn their attention to finishing the front brakes and suspension on the 1957 Thunderbird.
The brakes had only been mocked up earlier in the build. Now they properly pack the wheel bearings with grease, install the grease fittings, lubricate the control arms and tie rods, tighten the suspension hardware, and install the cotter pins.
Sam also explains how caster affects steering stability, especially at higher speeds, and why getting the suspension geometry right matters on a car that's going to have this much power.

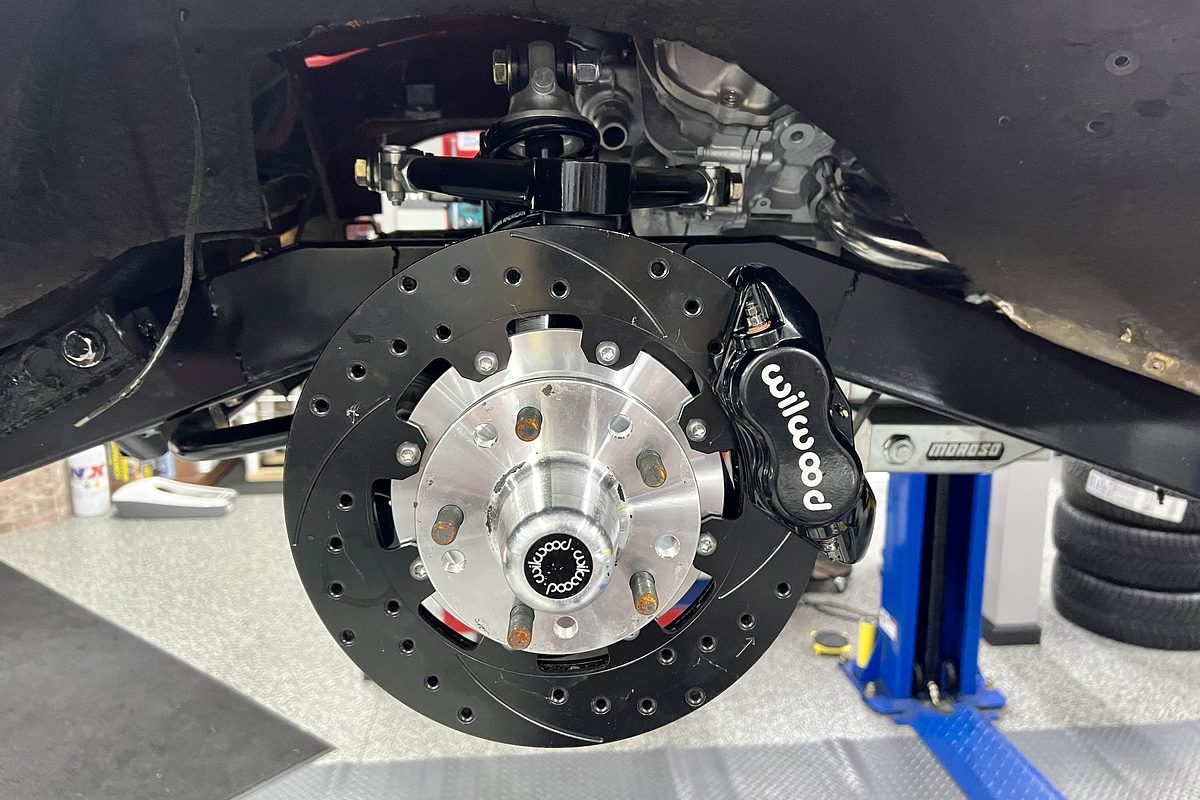
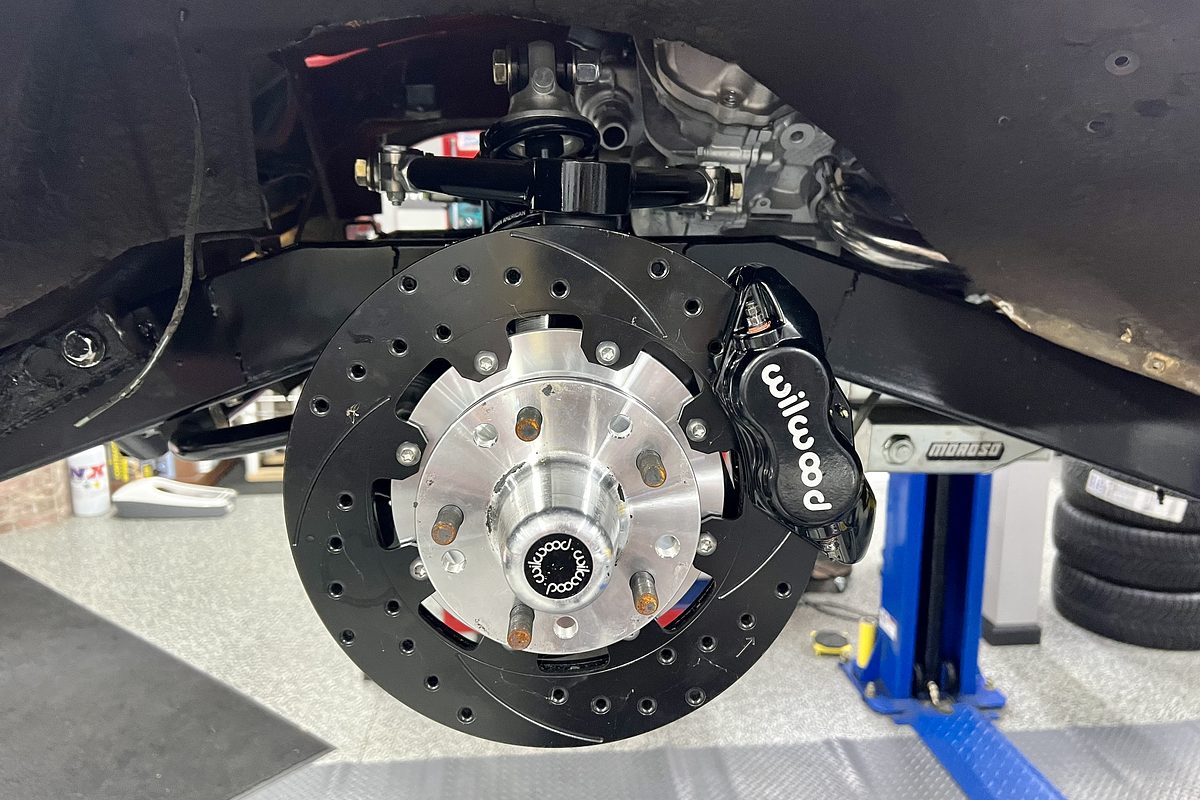
The Thunderbird gets a serious stopping upgrade with Wilwood calipers, along with an important tip: always bleed the brakes from the upper bleeder, since air rises in the system.
They even squeeze in a little history lesson about where the term “grease monkey” came from.

What We Learned:
Building a powerful car isn't just about horsepower. The steering, suspension, lubrication, and brakes all need to work together so the car can handle that power safely.
By the end, the Thunderbird's front end is tightened, greased, pinned, and ready to go.

Chapter 2 Building the Brake Lines

1 photo ▶ video
Build clip

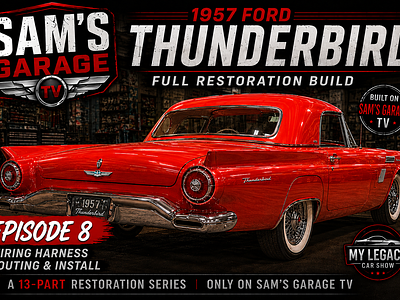
Episode 8: Building the Brake Lines


Sam and Doug move to the rear brakes on the 1957 Thunderbird and tackle one of those jobs that's simple in theory but takes plenty of patience: running all-new hard brake lines from front to rear.
They install the rear brake setup, which includes an integrated emergency brake, then fabricate and route the hard lines around the custom chassis and Moser 9-inch rear end.
A big part of the episode focuses on properly cutting, bending, and double-flaring the brake lines. Sam explains why the double flare is so important when the braking system can see more than 1,200 PSI.

They also work through mixing metric and standard fittings and show why it's important to leave everything loose during mock-up so there's room to make adjustments and get a wrench on every fitting.
And apparently, making brake lines is quick work...
“We should be done in roughly 17 hours.”
It actually takes them about 11 hours.

What We Learned:
Brake lines aren't the place to rush. Measure twice, take your time with the bends, leave room to work, and make sure every connection has a proper double flare.
With the hard lines installed, the Thunderbird now has its braking system coming together from front to rear.

Chapter 2 Cooling, Steering & Working Through the Obstacles

1 photo ▶ video
Build clip

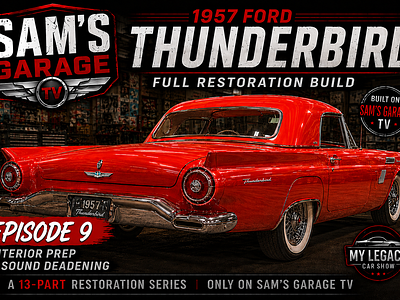
Episode 9: Cooling, Steering & Working Through the Obstacles


Sam and Doug keep pushing forward on the 1957 Thunderbird, this time tackling the cooling system and steering.

They install a Summit Racing universal aluminum radiator, along with the Vintage Air condenser and an electric cooling fan. Like most things on a custom build, some fabrication is needed. The radiator inlet and outlet are modified to work with the Coyote setup, and they adapt the cooling fan to get roughly 80% radiator coverage.
Next comes the new stainless steel steering column. They position it around Doug’s driving position before locking everything down.

The biggest challenge is power steering. The original plan won't work because the steering shaft occupies the space intended for the power steering pump. Their solution is an electric-over-hydraulic Volvo power steering pump, allowing them to work around the problem and keep the rack-and-pinion setup.
Sam sums up this build pretty well:
“No matter what obstacle you come across, you power through it, get it done, knock it out.”

What We Learned:
Custom builds rarely go exactly according to plan. Sometimes the right solution isn't another custom part. It's taking an existing part, adapting it, and making it work.
By the end, the Thunderbird has its radiator, cooling fan, steering column and a creative solution for power steering all coming together.

Chapter 2 Bringing the Thunderbird to Life
1 photo ▶ video
Build clip

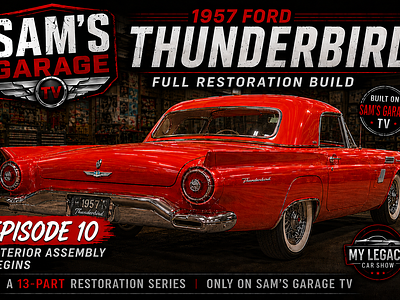
Episode 10: Bringing the Thunderbird to Life


Sam and Doug are getting very close to the moment they've been working toward: starting the 1957 Thunderbird.

This episode focuses on the electrical system, engine management, and finishing the Vintage Air installation.
They start by relocating the battery to the trunk using an aluminum Taylor battery box. Besides cleaning up the engine compartment, the move helps with weight distribution. Sam pays special attention to grounding the body and chassis, adding redundant grounds and a 200-amp fuse near the battery to protect the entire car in case of a short.

Then they tackle the Holley EFI system controlling the Coyote engine. Multiple control modules are mounted together on one plate, with the diagnostic lights cleverly positioned where they can be viewed through the unused glove box.
Doug finishes up the Vintage Air climate-control system while providing plenty of “moral support” along the way.
Sam's biggest lesson from this episode:
“Your voltage is only as good as your ground.”

What We Learned:
Modern electronics in an old car require more than just running wires. Good grounds, proper circuit protection, accessible diagnostics, and thoughtful component placement can make the car safer and much easier to troubleshoot later.
By the end, the Vintage Air is done, the Holley EFI is installed, and the electrical system is nearly ready.

As Sam puts it:
“All we got to do now is put fuel in it, hook up one wire, and we're ready to go.”
Next up: The moment they've been waiting for — getting this Thunderbird running.

Chapter 2 Bringing the Dash Into the Modern Age

1 photo ▶ video
Build clip

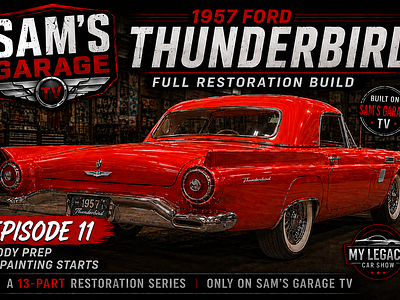
Episode 11: Bringing the Dash Into the Modern Age


Sam and Doug turn their attention to the instrument cluster of the 1957 Thunderbird, continuing the theme of keeping the classic look while putting modern technology underneath.

Because the Thunderbird's original dash has unusual gauge openings, an off-the-shelf gauge setup isn't a good option. Instead, they install a Holley digital display that works directly with the Holley Terminator EFI system.

They fabricate a custom bezel using plexiglass, carefully measuring and making templates so the display sits flush in the original dashboard. The temporary bezel will eventually be replaced with a finished custom piece made back at HEM Saw.
The new display gives Doug multiple screen layouts along with important vehicle information, including speed, fuel level, engine data, diagnostics, and data logging.
As Doug describes the direction of the build:
“It’s got that resto body style... but we have everything new underneath it. Modern.”

What We Learned:
Modern technology doesn't have to take away from the character of a classic car. With some careful fabrication, you can add modern information and diagnostics while still making everything look like it belongs.
By the end, the digital dash is functioning, the basic design is established, and the Thunderbird has another custom feature that may make it truly one of a kind.

Next up: Creating the finished bezel and putting the final touches on the interior.

Chapter 2 The Interior Comes Together

1 photo ▶ video
Build clip

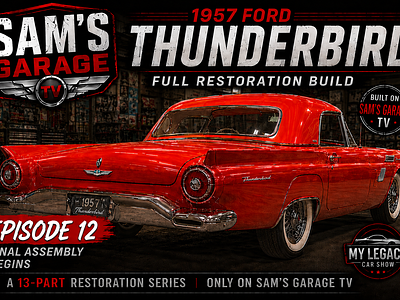
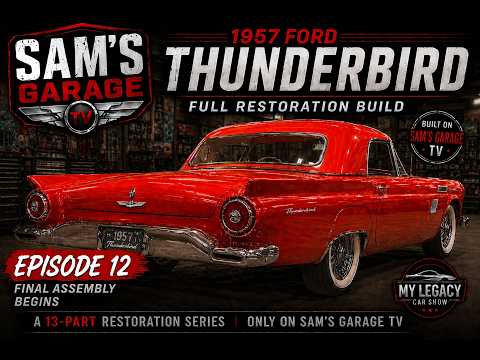
Episode 12: The Interior Comes Together


The Thunderbird is finally starting to feel like a finished car.
Sam and Doug begin installing the custom leather interior from Gillin Custom Design, including the redesigned bench seat with added bolsters, door panels, kick panels, new backing, clips, and trim pieces.

As with everything else on this build, they take their time fitting each piece before final installation. They even come up with a simple trick for mounting the seat by turning bolts into temporary studs, making alignment much easier.
Meanwhile, Jim Thomas from On-Site Shine starts bringing the exterior back to life. Rather than repainting the car, the original plan was to keep the existing finish and invest more of the build budget into the chassis. Jim polishes the paint and prepares it for a protective top coating.

Doug is finally getting to see the car he's been imagining throughout the build:
“I’m just standing here thinking about what it’s all going to look like.”

What We Learned:
Sometimes preserving what you already have is better than replacing it. Good craftsmanship, careful fitting, detailing, and a few creative installation tricks can completely transform an older car without erasing its character.
By the end, the new leather interior is coming together, the exterior is being revived, and the Thunderbird is almost ready to head home to Oklahoma.

Next up: Final detailing, protective coating, wheels and tires — and getting this Thunderbird back on the road.

Chapter 2 The Thunderbird Comes Together

1 photo ▶ video
Build clip

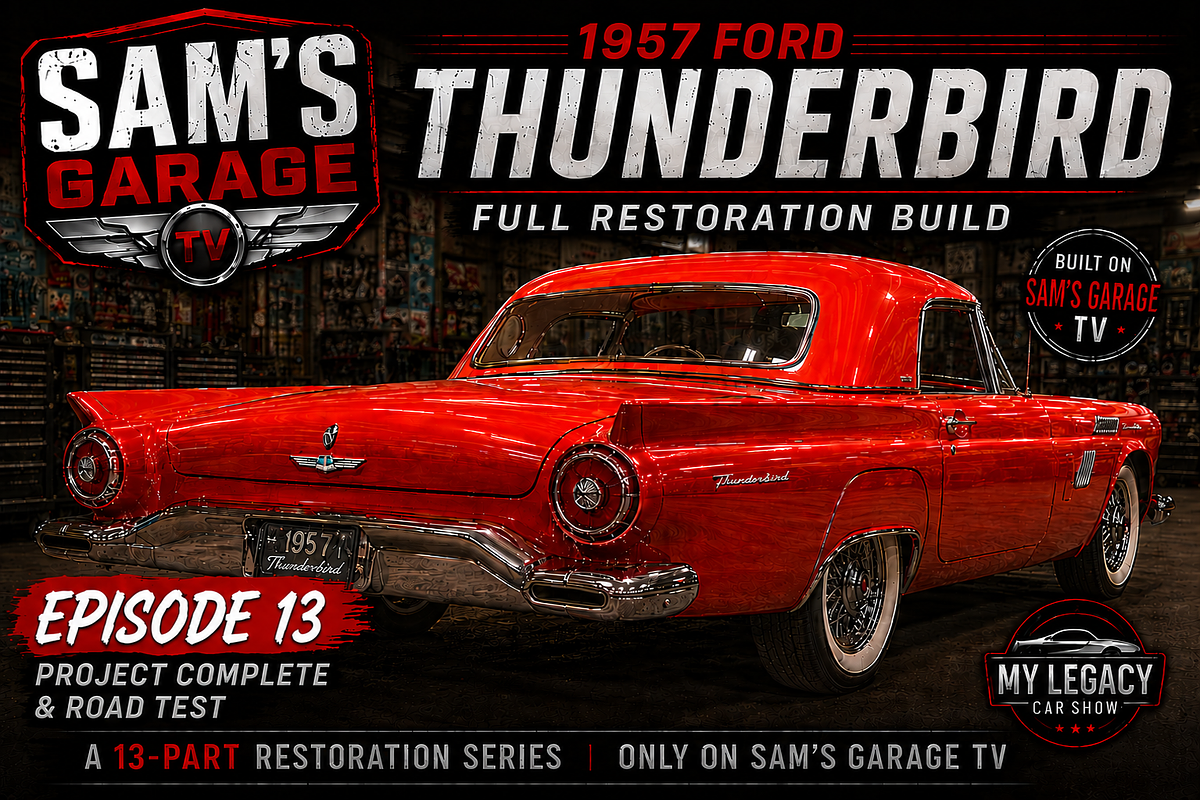
Episode 13: The Thunderbird Comes Together


After a long build, Sam and Doug reach the final episode of the 1957 Thunderbird project.
Jim from On-Site Shine finishes restoring the existing paint through compounding and polishing, then applies a protective top coat. The goal was never to erase the Thunderbird's history with new paint, but to bring the existing finish back to life and protect it.
The period-correct Luxor wire wheels go on, and Sam and Doug step back to look at everything they've accomplished.
And it's quite a list.

The Thunderbird now has a new chassis, Coyote engine making roughly 520–540 horsepower, five-speed transmission, rack-and-pinion steering, upgraded brakes and suspension, electric-over-hydraulic power steering, Holley EFI, modern cooling system, Vintage Air, digital instrumentation, custom leather interior, restored chrome and wire wheels.
Yet from the outside, it still looks unmistakably like a classic '57 Thunderbird.
Doug sums up the journey:
“It was a lot of work. As I always say, it was a lot of fun.”

What We Learned

A build like this doesn't come together because everything fits perfectly. It comes together through patience, fabrication, problem-solving and a lot of measuring before cutting.
As they joked throughout the build:
“There’s nothing a saw can’t fix and a welder can’t stick back together.”
At roughly 3,100 pounds with more than 500 horsepower, modern brakes, suspension and steering, this Thunderbird should be an entirely different car to drive.
But perhaps the best part is that they didn't build something that stopped looking like a Thunderbird.

They took a classic and gave it another chapter.
The build may be finished, but the Thunderbird's story isn't.

Chapter 1 Milestone 2: The Tear-Down Begins

1 photo ▶ video
Build clip

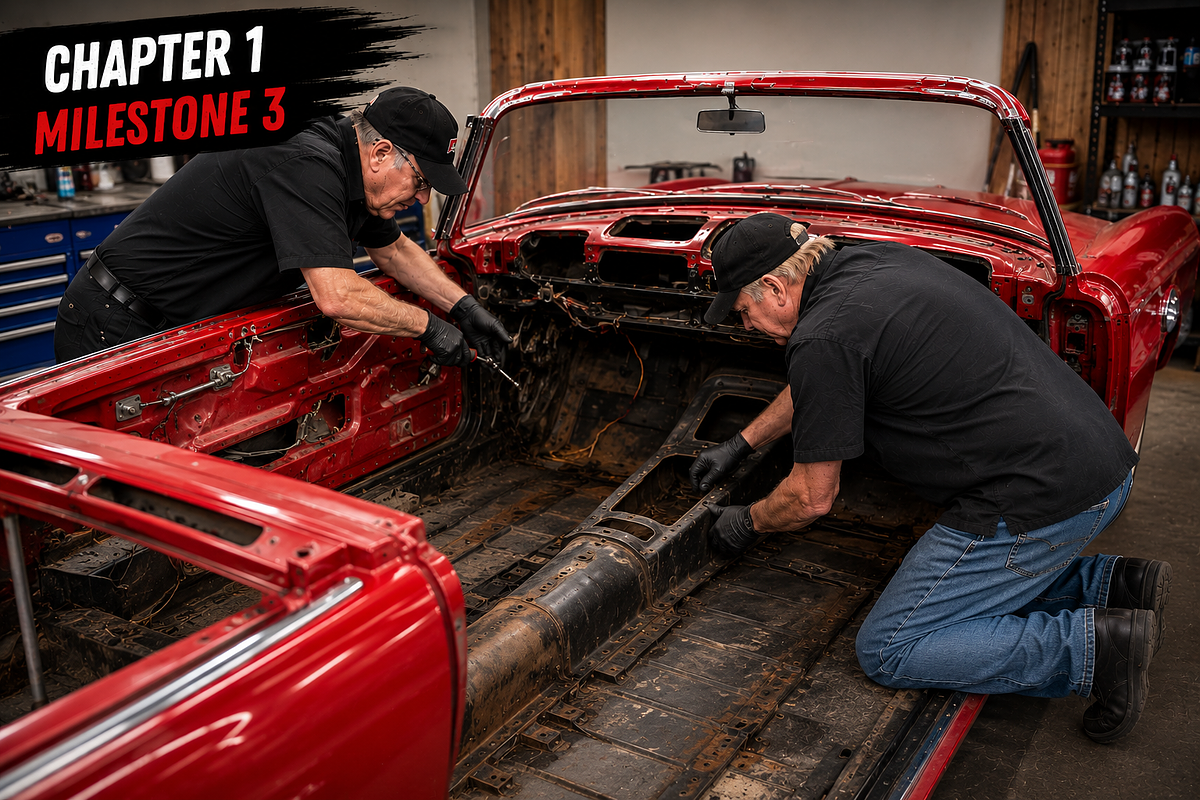
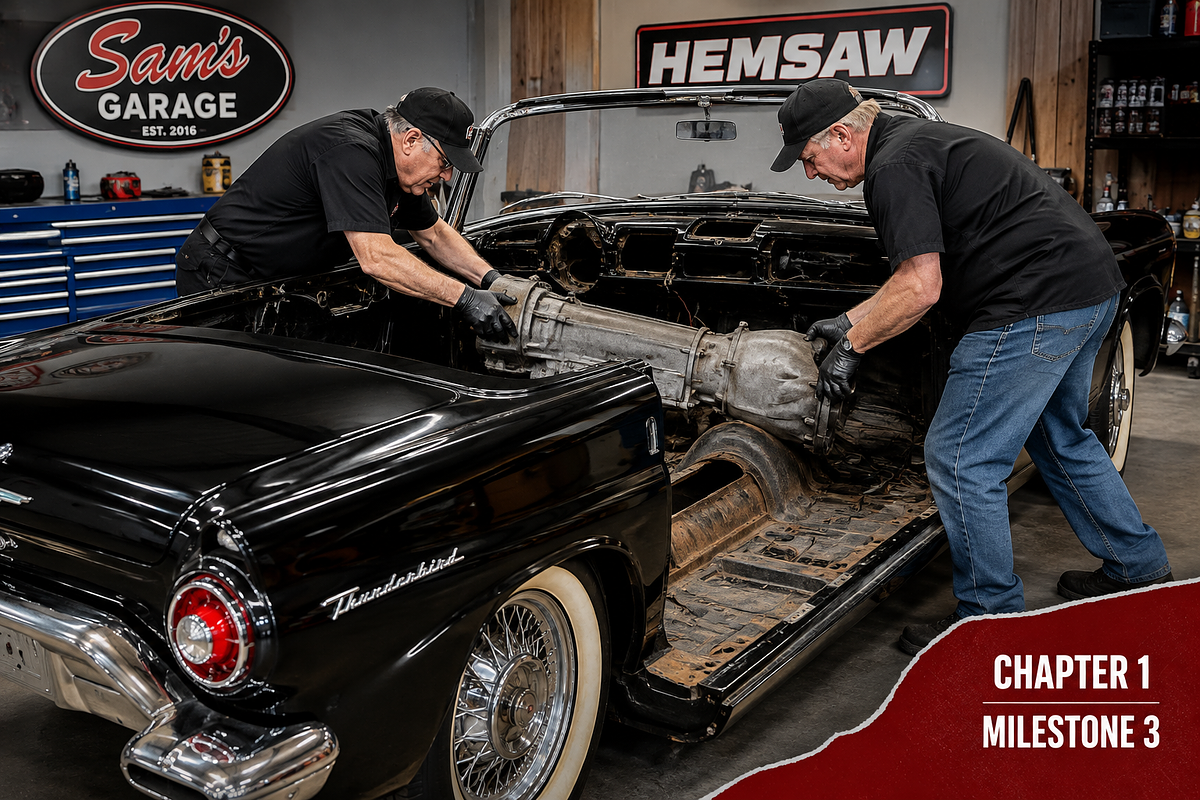
Chapter 1 • Milestone 3: The Tear-Down Begins


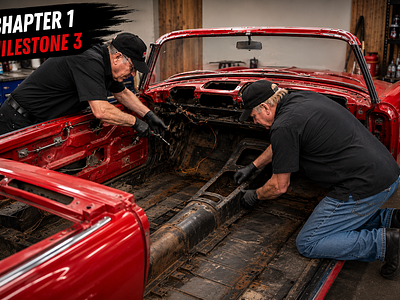
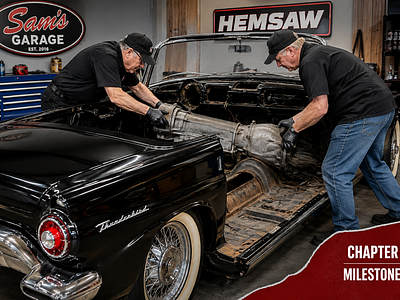
Sam and Doug officially start tearing into the 1957 Thunderbird, beginning with the interior and transmission so they can eventually remove the engine and prepare for the Coyote swap.
With the fluids already drained, they remove the top, bench seat, carpet, transmission tunnel, driveshaft, and transmission.

But taking the car apart reveals something just as important as removing the old components: what's hiding underneath.
They find some surface rust in the floor that will need to be cleaned up and treated with rust inhibitor before the interior goes back together. At the same time, they're pleasantly surprised by the quality of the previous owner's conversion work.
Doug had spent about a year searching for the right Thunderbird, and once they started pulling it apart, that patience began paying off.
As Doug says:
“You never really know what you’re going to get into when you purchase a car like this.”

What We Learned

Taking something apart isn't just about getting old parts out of the way. It's an opportunity to inspect what you normally can't see, address problems like hidden rust, and understand the work that was done before you.

Doug also shares a lesson that goes beyond this Thunderbird:
“Take your time when you're looking for something. Never get into a hurry.”
Sometimes waiting for the right vehicle makes everything that follows a whole lot easier.

Chapter 1, Milestone 3. Digging Into the Thunderbird

1 photo ▶ video
Build clip

Chapter 1 • Milestone 4: Digging Into the Thunderbird

Sam and Doug begin the real teardown of the 1957 Thunderbird, removing the interior and transmission as they prepare the car for its new Coyote engine and transmission.
They remove the top, bench seat, carpet, transmission tunnel, driveshaft, and transmission. Draining all the fluids beforehand makes the process cleaner and considerably easier.
But the teardown isn't just about removing parts. It's also their first chance to really see what's been hiding underneath the car.
With the interior out, they discover some surface rust on the floor. It's not serious yet, but Doug points out that if it were ignored, it could eventually become a much bigger problem. The plan is to strip and treat those areas with rust inhibitor before everything goes back together.
They also get a much better look at the previous owner's work and are impressed with the quality of the earlier conversion and fabrication.
There's even a simple garage tip along the way: wrap tape around the U-joint before removing it so the needle bearings don't fall out.

What We Learned

Taking a vehicle apart can tell you almost as much about a build as putting it together. This is when you discover hidden rust, previous repairs, fabrication work, and whether the car you bought was really as good as you thought.
Doug spent nearly a year searching for this Thunderbird, and what they're finding reinforces that decision.
His advice:
“Take your time when you're looking for something. Never get into a hurry.”
Sometimes the best first step in a restoration is simply starting with the right car.

Chapter 1 • Milestone 4: Taking Apart the Interior

1 photo ▶ video
Build clip

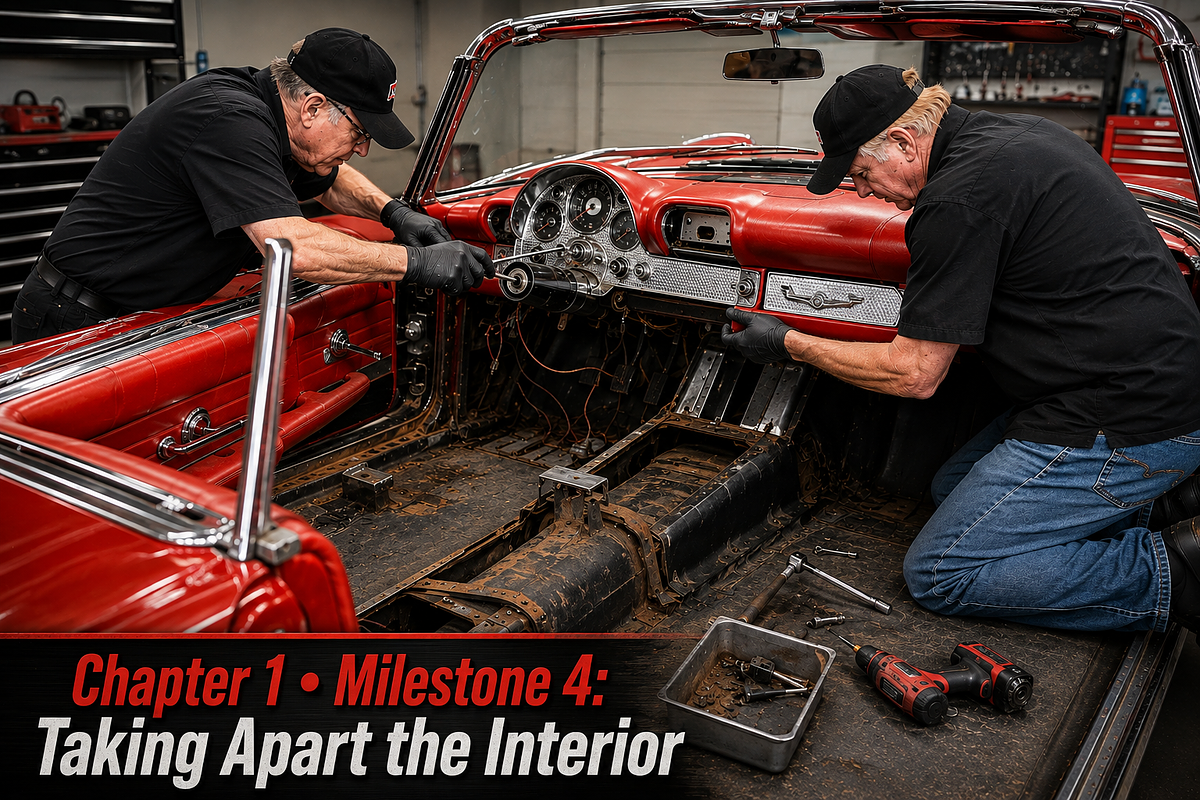
Chapter 1 • Milestone 4: Taking Apart the Interior

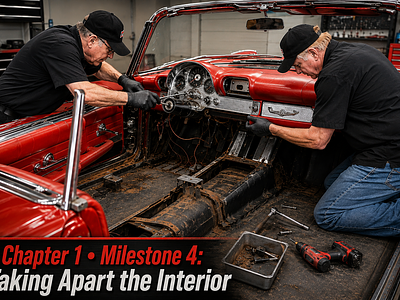
Sam and Doug turn their attention to the 1957 Thunderbird’s interior, figuring out what can be saved, what needs to be restored, and what needs to be modernized.
The good news is that the interior is in better shape than expected. Rather than replacing everything, they plan to preserve much of what's already there while updating the carpet, door panels, trim, air conditioning, and instrument cluster.
As they start taking things apart, they discover moisture damage behind some of the original panels. The cardboard backing is badly deteriorated, so those pieces will need new backing and upholstery while preserving details like the original Thunderbird emblem.
The dashboard presents another challenge. They originally think they'll need to remove the entire dash to restore the aluminum bezels and prepare for the new digital gauges. Instead, they carefully work through the assembly and find a way to remove what they need without completely tearing the dashboard apart.

What We Learned

This episode is really about patience and documentation.
Sam and Doug repeatedly stress taking pictures, bagging and organizing parts, researching how the car was originally assembled, and thinking before pulling something apart.
A 1957 Thunderbird wasn't built like a modern car, and forcing something apart can create a lot more work later.
Doug gives some great advice:
“Research, research, research. Do as much prep as you possibly can.”
And when things inevitably get frustrating:
Walk away for a little while, come back with a fresh head, and tackle it again.
That's especially good advice when every part you remove eventually has to go back in.

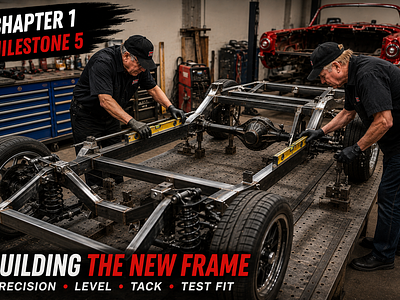
Chapter 1, Milestone 5 Building the New Frame

1 photo ▶ video
Build clip

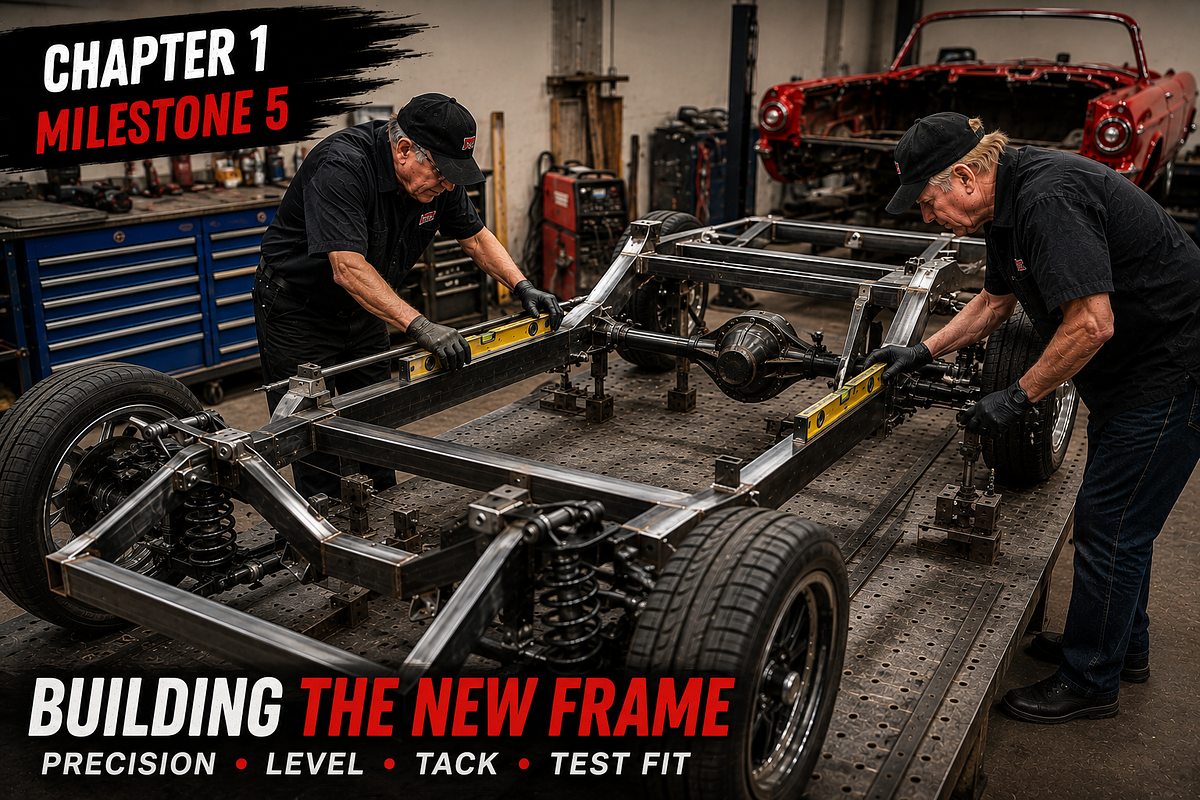
Chapter 1 • Milestone 5: Building the New Frame


The 1957 Thunderbird’s new chassis is starting to take shape.
Sam, Doug, Joe, and Ron begin assembling and tack welding the new frame, bringing together the front section, rear section, and frame rails.

This stage is all about precision. Before anything gets permanently welded, they carefully level the fabrication table and frame in both directions. They even demonstrate how to check the level itself by turning it 180 degrees to make sure the tool is actually accurate.
The rear section of the frame is also fabricated to clear the rear axle and support the trunk. To make the new design work, they plan to remove the original spare tire well and reposition the fuel tank.

The new chassis will also use a four-link rear suspension with a Panhard bar, helping keep the rear axle centered and improving the Thunderbird’s handling.
Before final welding, they put the chassis on wheels and prepare to test-fit it underneath the body.

What We Learned

Measure, level, tack, check, and then weld.
Once a chassis is permanently welded together, fixing a mistake gets a whole lot harder. Taking the extra time now makes sure everything stays straight, square, and where it belongs.
The pile of steel they started with is finally beginning to look like the foundation of an entirely new Thunderbird.

Next up: fitting the new chassis underneath the body and seeing if all that careful measuring paid off.

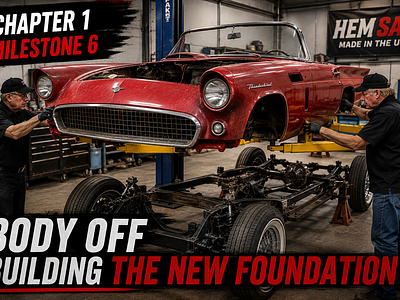
Chapter 1, Milestone 6 Separating the Body From the Frame

1 photo ▶ video
Build clip

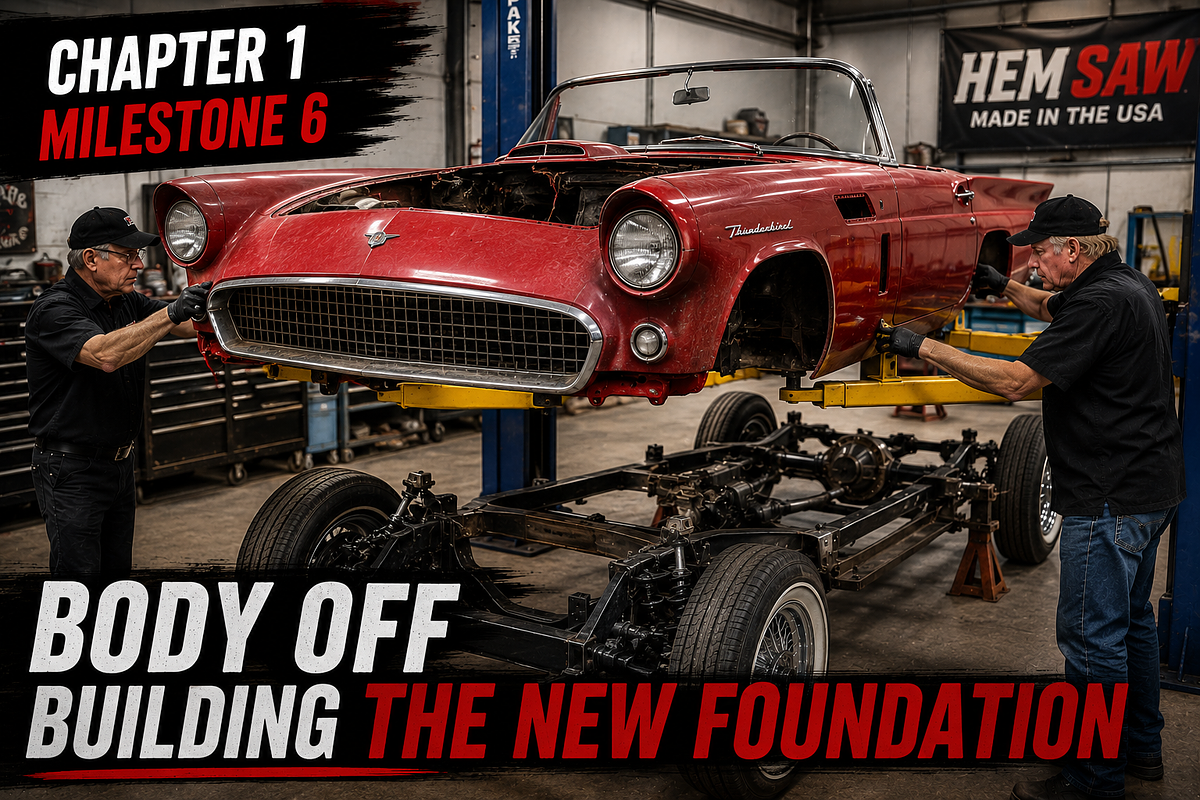
Chapter 1 • Milestone 6: Separating the Body From the Frame


Sam heads to HEM Saw in Oklahoma to join Doug as the Thunderbird reaches a major point in the build: separating the 1957 body from its original chassis.
The plan is ambitious. They're building an entirely new custom chassis from scratch, adding a Scott's Hotrods front suspension, Moser 9-inch rear end, and four-link rear suspension.
The goal is to keep the Thunderbird looking like a classic '57 on the outside while completely changing how it drives underneath.

Before lifting the body, Sam, Doug, and Ron carefully disconnect everything tying it to the chassis, including the exhaust, fuel tank mounts, wiring, and body mounts.
And then they run into exactly the kind of problem they warned about.
As the body begins to rise, the rear doesn't separate correctly. Instead of forcing it, they stop immediately. A closer inspection reveals a couple of hidden bolts they had missed.

What We Learned

This milestone is a great example of why going slowly matters during a major restoration.
When something doesn't look, sound, or feel right, stop and figure out why. Those hidden bolts could have caused serious damage if they had simply kept lifting.
They also use 4x4s beneath the rockers to spread the load and help prevent the body from flexing during removal.

By the end, the body is safely separated and supported.
Now they finally have what they need to begin the next major stage:
Measure the original frame and start building the Thunderbird's new chassis from scratch.

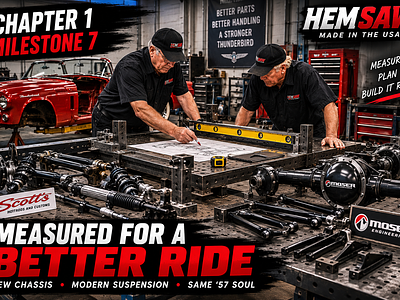
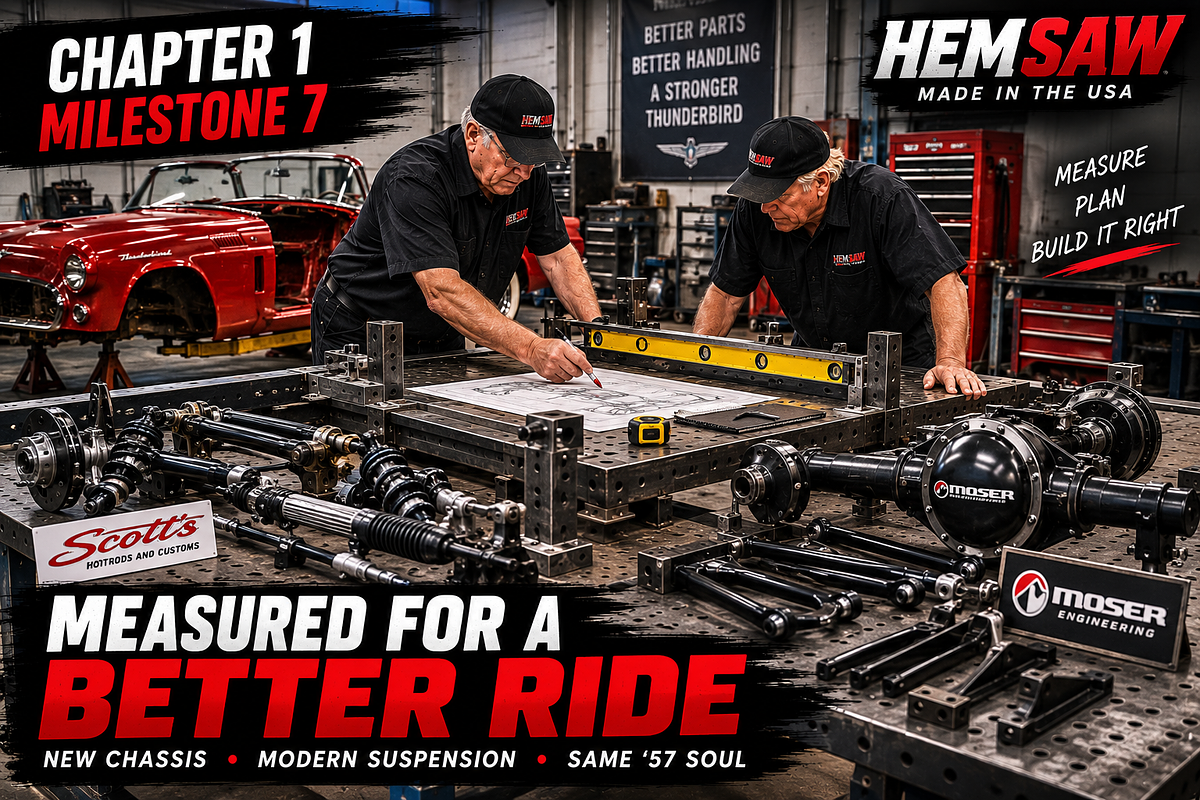
Chapter 1, Milestone 7 Measuring the New Chassis

1 photo ▶ video
Build clip

Chapter 1 • Milestone 7: Measuring the New Chassis


Sam and Doug are ready to start building the new custom chassis for the 1957 Thunderbird, but before anything gets welded, everything has to be measured and laid out correctly.

They start with a heavy duty adjustable fabrication table and make sure it is perfectly level on both axes. That becomes the foundation for every measurement that follows.
The Thunderbird is getting a major upgrade underneath, including rack and pinion steering, tubular control arms, adjustable coilovers and shocks, a stronger Moser 9 inch rear end, and suspension components from Scott’s Hot Rods and Customs. The goal is to keep the classic Thunderbird appearance while giving it modern handling and the strength to handle the new Coyote engine.

What We Learned


Building a chassis starts from the centerline, not from one end of the car. From there, they establish the wheelbase, track width, frame width, suspension pickup points, front and rear arches, and placement of the new front clip.
They also transfer those measurements into a 3D model before finalizing the chassis.
The big lesson in this milestone is simple: precision now prevents problems later.
If the chassis isn't level, square, and properly measured, the Thunderbird could "dog track" or crab down the road, affecting alignment, steering, handling, and tire wear.

This milestone isn't really about putting parts together yet. It's about making sure the foundation is right before they do.

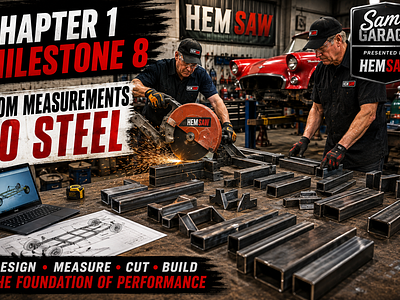
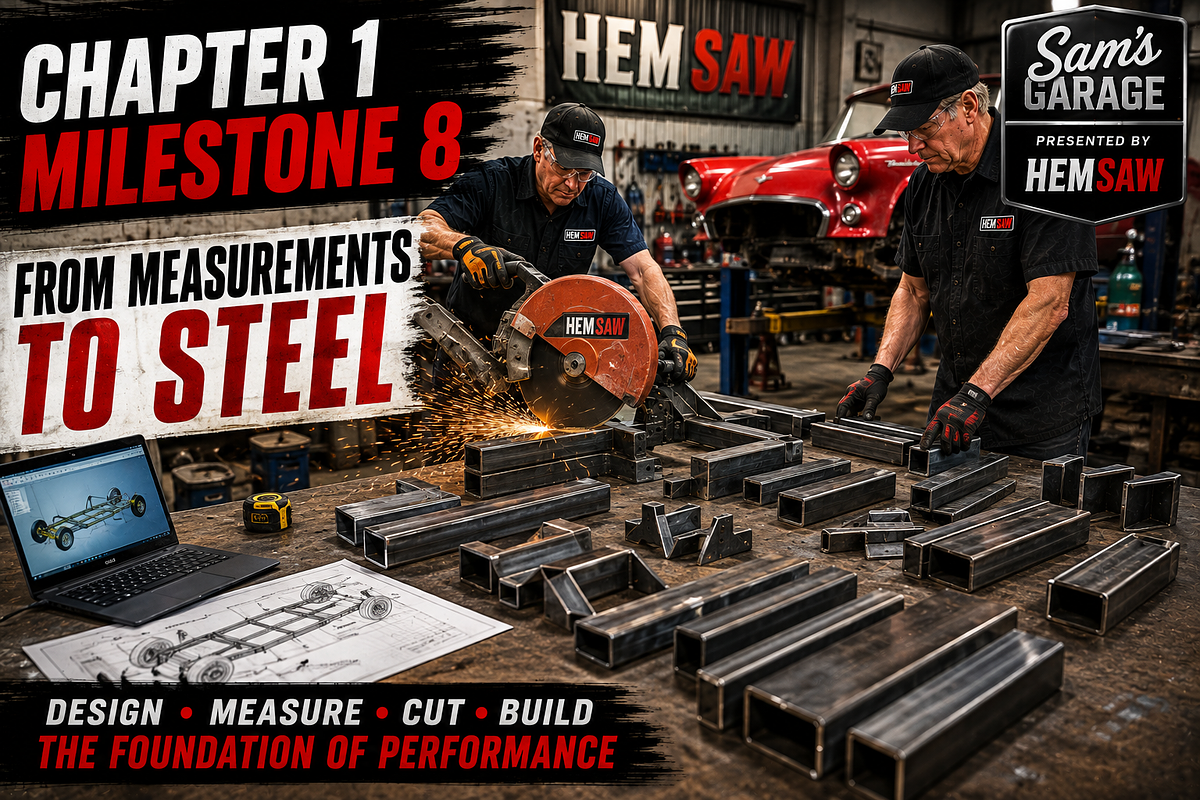
Chapter 1, Milestone 8 From Measurements to Steel

1 photo ▶ video
Build clip

Chapter 1 • Milestone 8: From Measurements to Steel


The measurements are done. Now the 1957 Thunderbird’s new chassis starts becoming real.
At HEM Saw, Joe takes the measurements from the original Thunderbird frame and transfers them into SolidWorks, creating a precise 3D model of the new chassis.
The goal is a frame that is a little lighter, plenty strong, and designed around the Thunderbird’s new modern suspension.

Once the design is finished, Ron takes over in the fabrication shop. Using Joe’s drawings, he begins cutting each piece of steel to the exact dimensions and angles needed. They start with the straight 90 degree cuts, move into the miter cuts, and finish with the more complicated compound angles.

What We Learned


Precision doesn't stop once the measurements are taken.
Doug points out something surprisingly important: use the same tape measure throughout the entire project. Two tape measures can actually read slightly differently, and those small differences can start adding up when you're building an entire chassis.

They also discuss how temperature affects steel. Hot steel expands and cold steel contracts, another small detail that matters when you're working with tight tolerances.
By the end of the milestone, what looks like nothing more than a pile of carefully cut steel is actually every major piece needed to build the Thunderbird's new frame.

Next up: turning that pile of steel into a chassis.

1957 Ford Thunderbird chapter 1, Milestone 9
1 photo ▶ video
Build clip

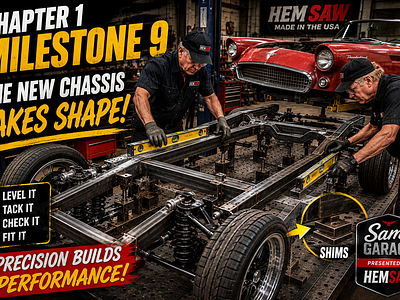
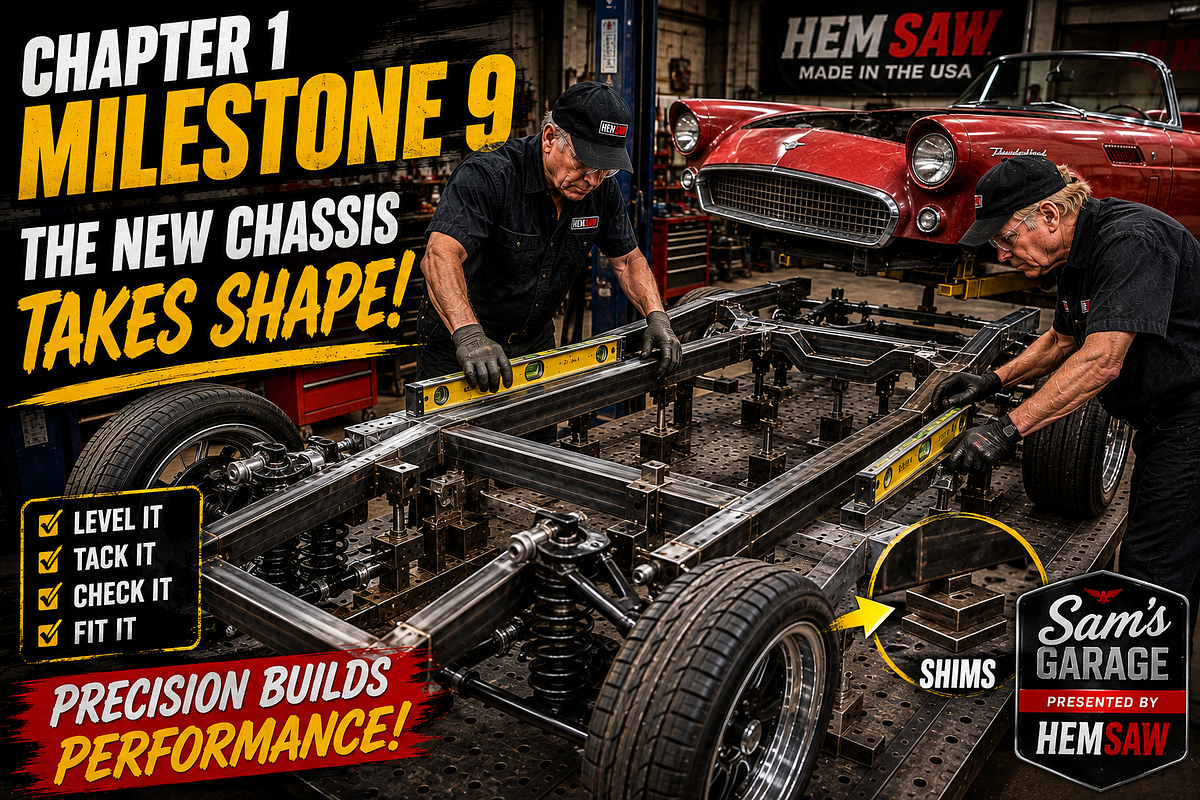
Chapter 1 • Milestone 9: The New Chassis Takes Shape


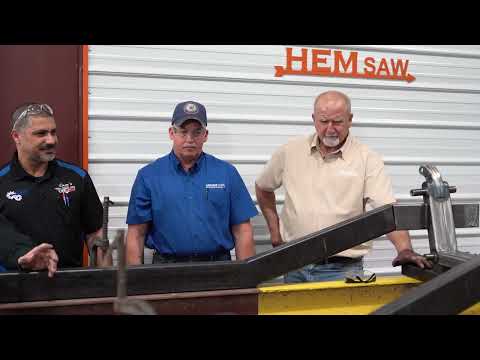
All those measurements and carefully cut pieces of steel are finally starting to look like a new chassis for the 1957 Thunderbird.
Sam and Doug join Joe and Ron as the frame is laid out, leveled, assembled, and tack welded together. Before anything is permanently welded, they make sure the fabrication table and frame are level in both directions.

They even show an important trick: check the level itself by turning it 180 degrees. If the bubble doesn't return to the same position, your level may be lying to you.
The rear section of the chassis is also taking shape. Because they're adding a four link rear suspension and Panhard bar, some changes are needed to the Thunderbird. The spare tire well will be removed and the fuel tank repositioned to make room for the new design.

What We Learned

Tack it before you weld it.
At this stage, nothing should become permanent until the measurements, alignment, and fit have been checked.
That's especially important here because the new chassis has been narrowed. Before finishing the welds, they'll roll it underneath the Thunderbird for a dry fit to make sure the body actually fits the new frame.
The pile of steel from Milestone 8 has officially become a chassis.

Next up: sliding it under the Thunderbird and finding out if all that precision paid off.

1957 Ford Thunderbird, Chapter 1, Milestone 10

1 photo ▶ video
Build clip

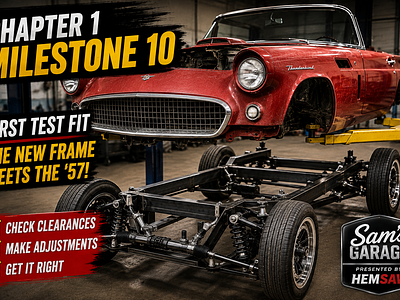
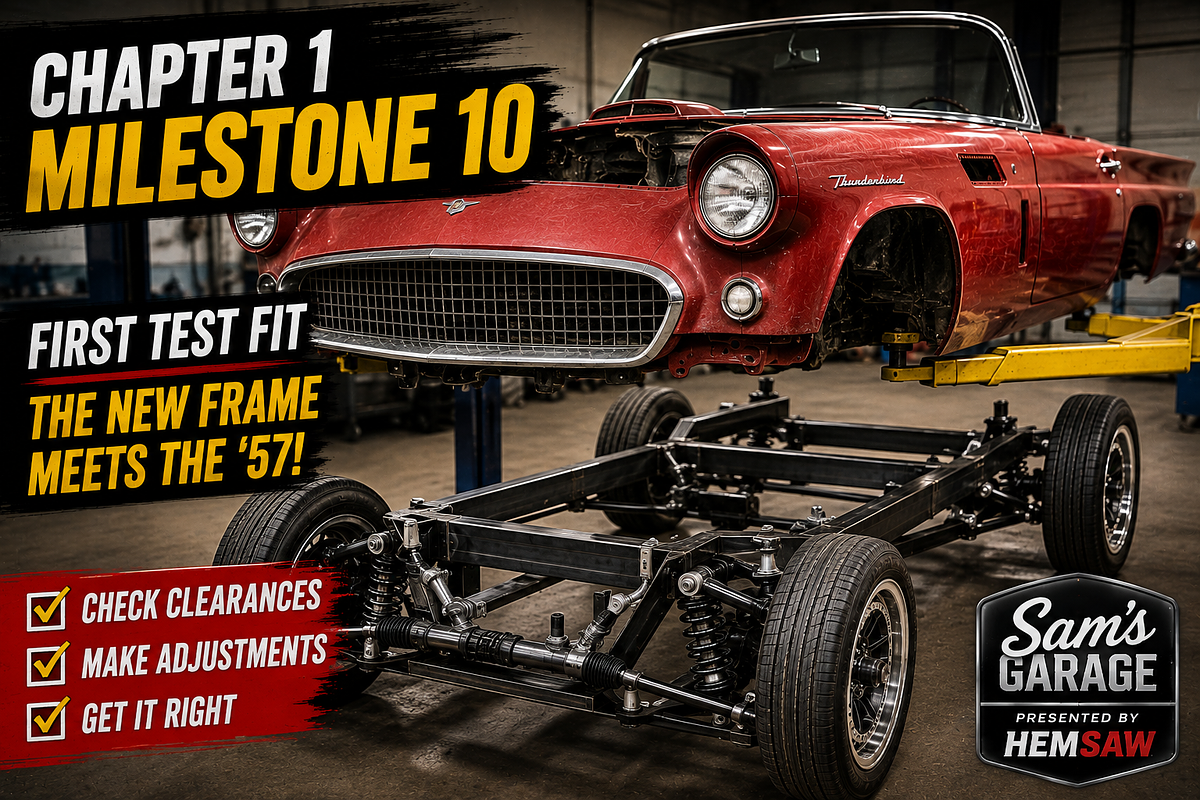
Chapter 1 • Milestone 10: The First Test Fit


The new chassis finally meets the 1957 Ford Thunderbird.
Sam, Doug, and the Hemsaw team slide the newly fabricated frame underneath the body for the first preliminary fit. The goal isn't to finish anything yet. It's to find the problems before the final welding begins.

And they find a few.
The trunk floor interferes with the new frame uprights. The original radiator support doesn't clear the new rack-and-pinion steering. The spare tire well needs modification. Each issue has to be worked through before the chassis can be finalized.
They also begin mocking up the passenger-side front suspension from Scott's Hot Rods, including the control arms and spindle. The new setup provides plenty of adjustment for getting the caster and alignment dialed in later.

What We Learned

This milestone shows why mock-up matters.
Building a custom chassis isn't simply measuring everything once and welding it together. The body goes on. Measurements are checked. Parts are positioned. Problems are discovered. Changes are made. Then everything gets checked again.
Sam demonstrates a simple plumb bob to locate the spindle precisely inside the wheel well, making sure the wheels will sit and turn correctly.

The big lesson:
Measure. Fit. Check. Adjust. Then check it again.
As Doug explains, things aren't always going to fit exactly the way you expected. That's normal.
With the front suspension now mocked up and the major clearance issues identified, the next step is mocking up the rear suspension and continuing to dial in the chassis.

1957 Ford Thunderbird, Chapter 1, Milestone 11

1 photo ▶ video
Build clip

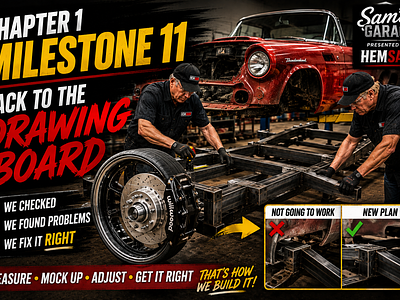
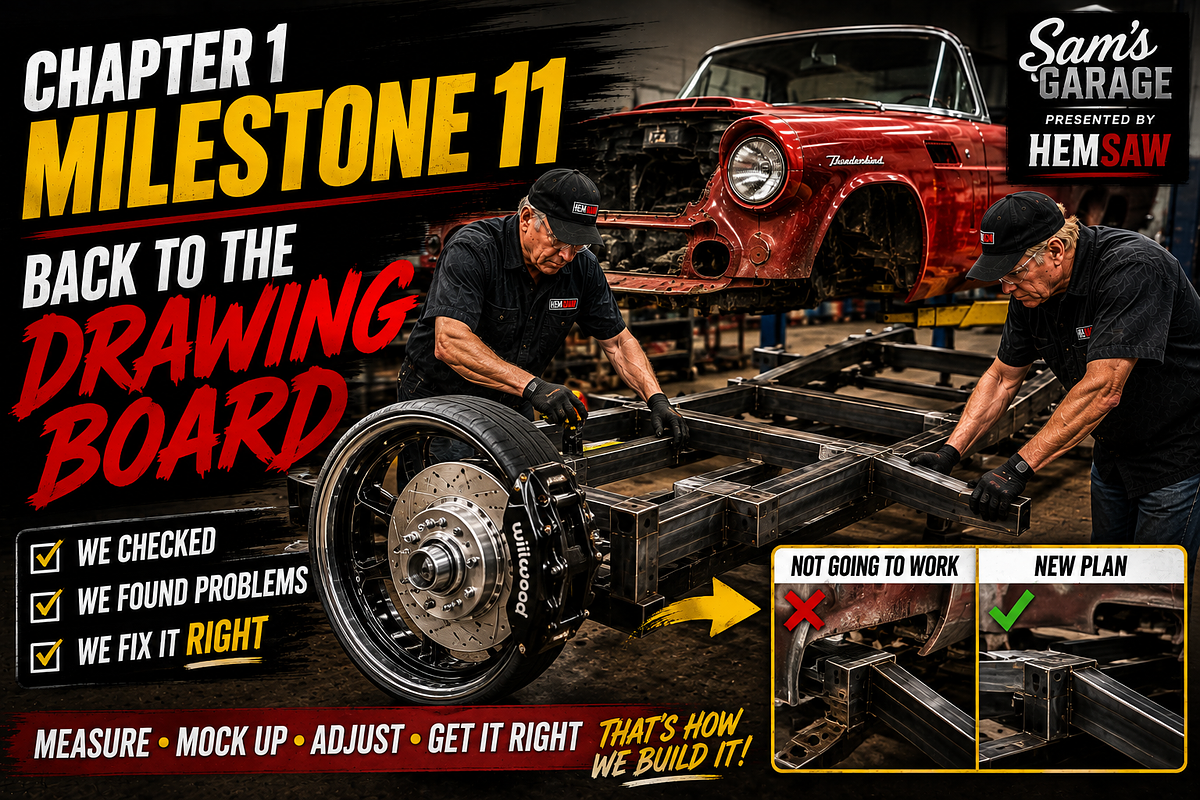
Chapter 1 • Milestone 11: Back to the Drawing Board


The new Thunderbird chassis is coming together, but this milestone proves exactly why Sam and Doug have been mocking everything up before final welding.
After putting the new frame underneath the body, the team discovers a major problem. Their plan to narrow the rear of the frame for wider rear tires isn't going to work.
Instead of forcing it, they change the plan.

Joe heads back to the design room to create new rear frame sections. The rear will be widened closer to the original factory dimensions, giving the frame the clearance it needs while allowing the fuel tank to return to its proper location.
Up front, they also physically install the hub and wheel to check its position inside the wheel well. Measurements showed they were close, but seeing the actual wheel in place revealed that the chassis needed to move about two inches.

What We Learned


This milestone is a great example of why mock-up isn't wasted time. It prevents expensive mistakes.
The team intentionally used light tack welds so pieces could still be moved, cut apart, or redesigned when something didn't fit.
As Sam puts it:
“It's all about trial and error and powering through the project.”
They also get their first real look at the upgraded front brakes: 13-inch slotted, cross-drilled and vented rotors with four-piston calipers, designed to work with the planned 18-inch wheels.

Next, they'll hang the Moser 9-inch rear axle and four-link suspension under the redesigned rear frame and continue preparing the chassis to handle the Coyote's expected 500 horsepower.
Sometimes progress means realizing the first idea wasn't the right one and being willing to build it again.

1957 Ford Thunderbird, Chapter 1, Milestone 12

1 photo ▶ video
Build clip

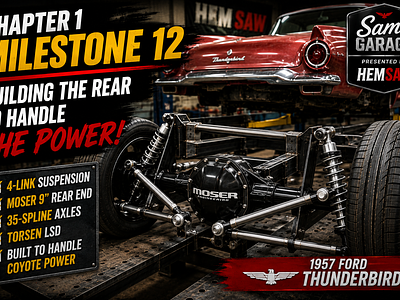
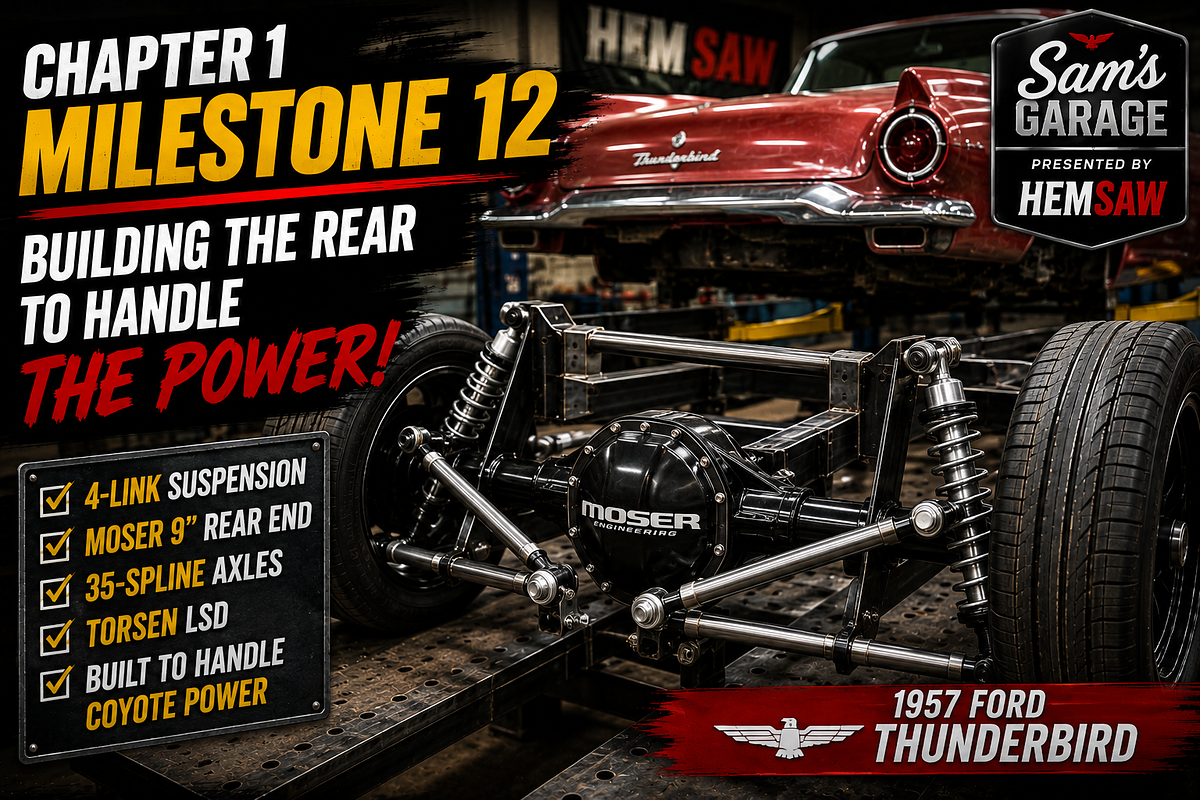
Chapter 1 • Milestone 12: Building the Rear to Handle the Power


The custom chassis is getting close to completion. Now Sam, Doug, Joe, and Ron turn their attention to mocking up the rear suspension and drivetrain support for the 1957 Thunderbird.

The centerpiece is a heavy-duty Moser 9-inch rear end with 35-spline axles and a Torsen limited-slip differential, designed to handle the horsepower from the Coyote engine.
They begin positioning the four-link suspension, carefully setting the bars, brackets, and shocks. Shock angle matters. Pinion angle matters. Even making sure the left and right four-link bars start at the same length matters.
Moser calls for approximately a 3-degree pinion angle to help prevent driveline vibration.
Because the Scott's Hot Rods four-link kit was originally designed for a factory Thunderbird frame, some components need to be modified to work with the completely custom Hemsaw-built chassis.

What We Learned


This milestone is about building strength without sacrificing geometry.
Sam and Doug explain why the shocks need to remain relatively upright, why the Panhard rod needs to be positioned correctly at ride height, and why suspension hardware should use Grade 8 bolts.
There is even a small detail that's easy to overlook: stamped washers have a flat side and a rounded side. The flat side should face the mounting surface.
The bigger lesson continues from the previous milestones:
Mock it up before you finish it.

Some final stiffeners and the Panhard rod will wait until the body is back on the chassis so the team can establish the correct ride height before locking everything down.
With the four-link and Moser 9-inch rear end now mocked into position, the Thunderbird's custom chassis is beginning to look like a complete foundation built to handle the power, improve the handling, and bring modern performance underneath a 1957 body.

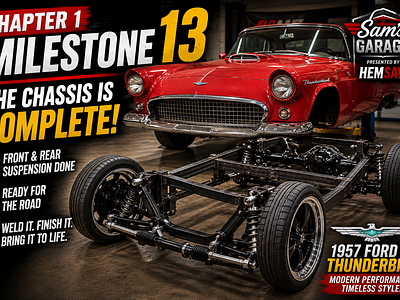
1957 Ford Thunderbird, Chapter 1, Milestone 13

1 photo ▶ video
Build clip

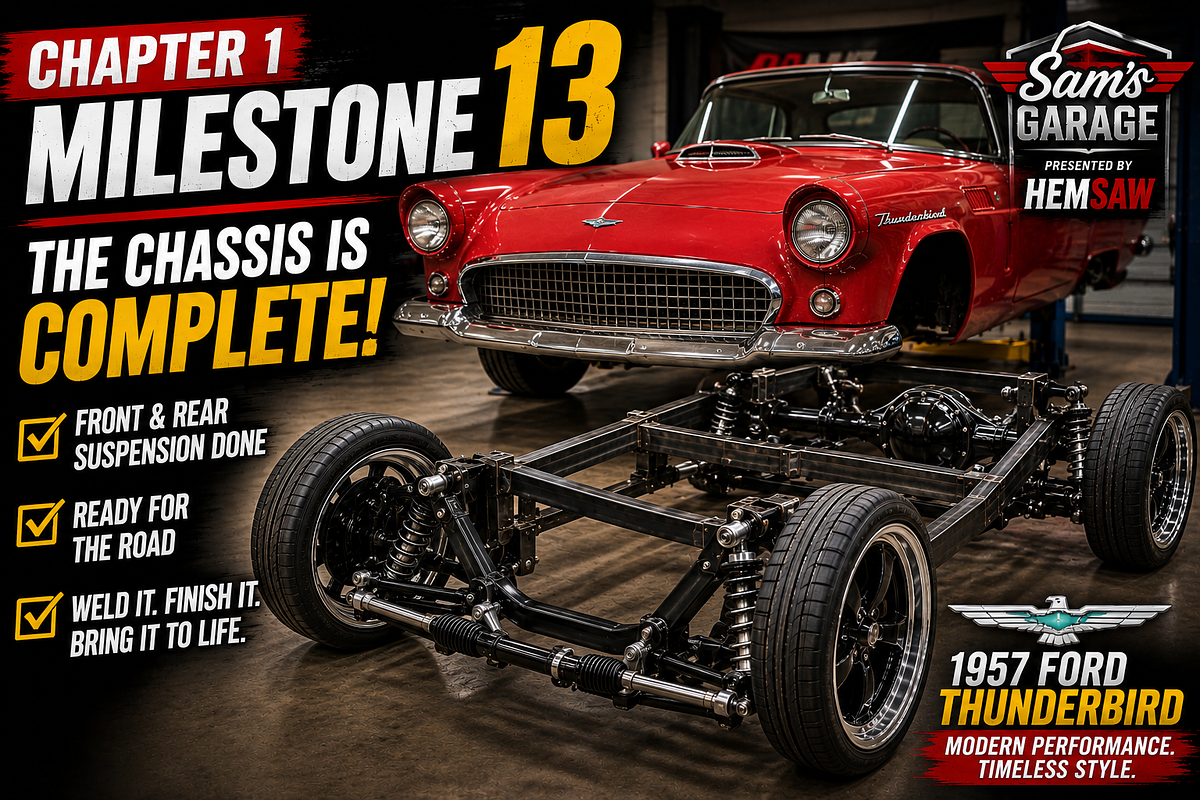
Chapter 1 • Milestone 13: The Chassis Comes Together


The hard part of the Thunderbird’s custom chassis build is officially behind them.
Sam and Doug step back and look at how far the 1957 Thunderbird has come. The new frame has been designed and fabricated from scratch, and the front and rear suspension systems are now mocked up and in place.
The goal from the beginning was pretty simple: keep the classic Thunderbird on the outside while completely transforming what’s underneath.
The new chassis brings modern steering, braking, suspension, adjustability, and strength to a car that will eventually be powered by the Coyote engine.
As Sam puts it:

“Talk about a sleeper, right? From the outside, it’s going to look like a Thunderbird.”

What We Learned


Building something from scratch rarely goes exactly according to plan.
Even with the chassis designed in SolidWorks and carefully measured, the team discovered changes that had to be made once the actual body was lowered over the frame.
That’s why so much of this build has been about mocking things up, measuring, checking the fit, making changes, and checking it again before final welding.

The chassis will now be finish welded, reinforced, cleaned up, and coated with a two-part epoxy paint that can be repaired or touched up later if necessary.
Next comes the really exciting part: marrying the body and finished chassis back together and eventually installing the Coyote engine, Holley EFI, and TKX 5-speed transmission.
The Thunderbird may still look like 1957 when it’s finished.
But underneath, it’s becoming an entirely different car.

Steward Legacy Builds

Pride in Ownership. Documented for Life.

Preserving the stories, the people, and the history these machines represent — one honest restoration at a time.